Before you begin
Ensure you have admin access to both Zoho People and Empuls accounts. You’ll need your Zoho People API key. With this integration, you can:- To connect Empuls with Zoho People, follow a hassle-free process. To initiate the process, you must be an admin on both systems.
- Automatically sync data to Empuls when you add new hires, delete exited employees, and update employee data in Zoho People.
- Import employee birthday and work anniversary data from Zoho People to celebrate these special days with automated greetings and gifts.
Set up integration
Go to the page
Log in with your Zoho People account
Click Add Client ID in the top right
Among the different options, select Server-Based Applications
Use the following details to create a connection
- Client Name: XoxodayEmpuls
- Homepage URL:
https://yourcompany.xoxoday.com - Authorised Redirect URIs: https://yourcompany.xoxoday.com/chef/integration/oauth/callback/zohopeople
Click Create and Continue on this page
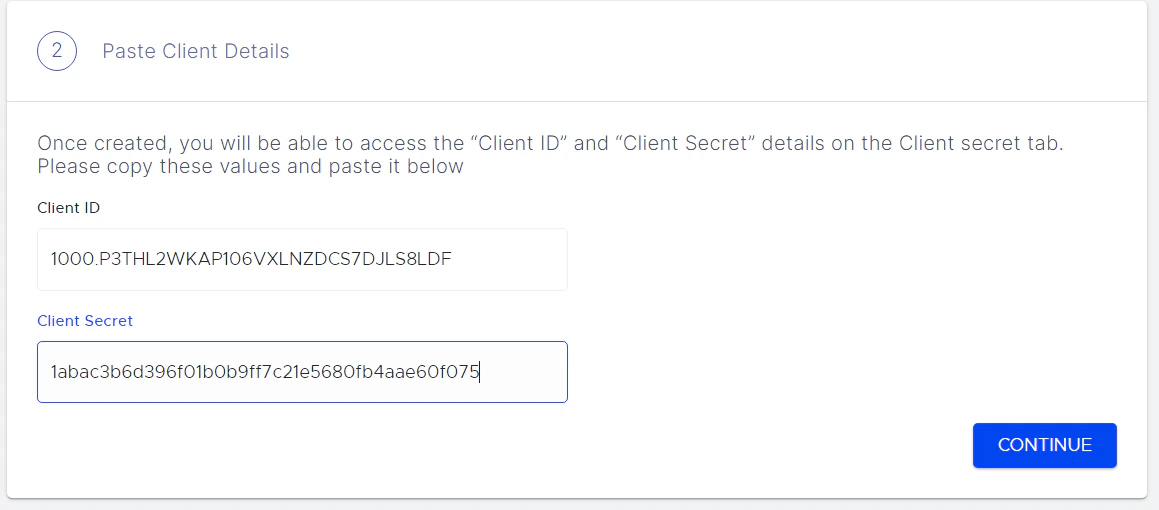
Copy Client ID and Client Secret details
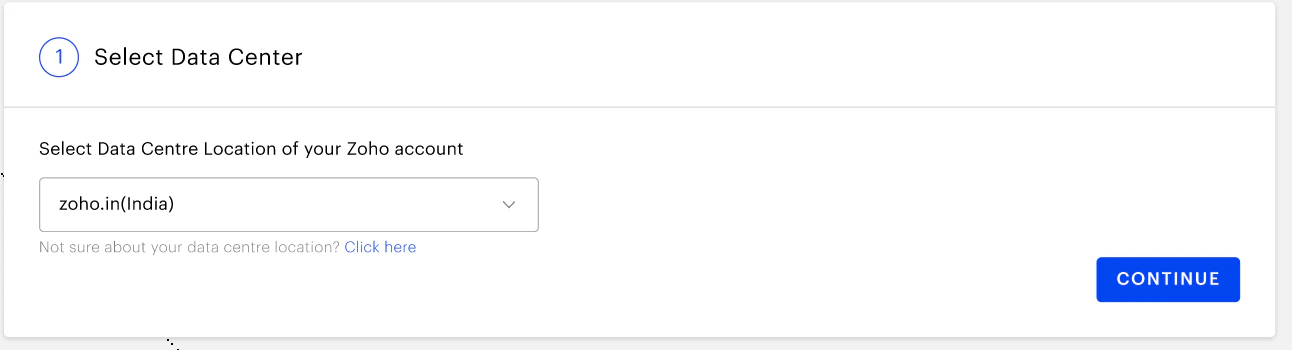
Select your ZOHO Data Center where your Zoho
Copy-paste the Client ID andSecret ID

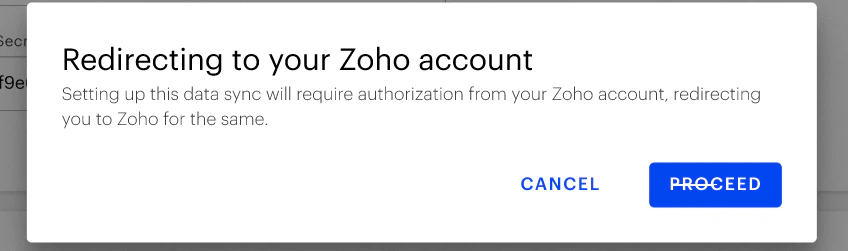
Give authorization from your Zoho Account
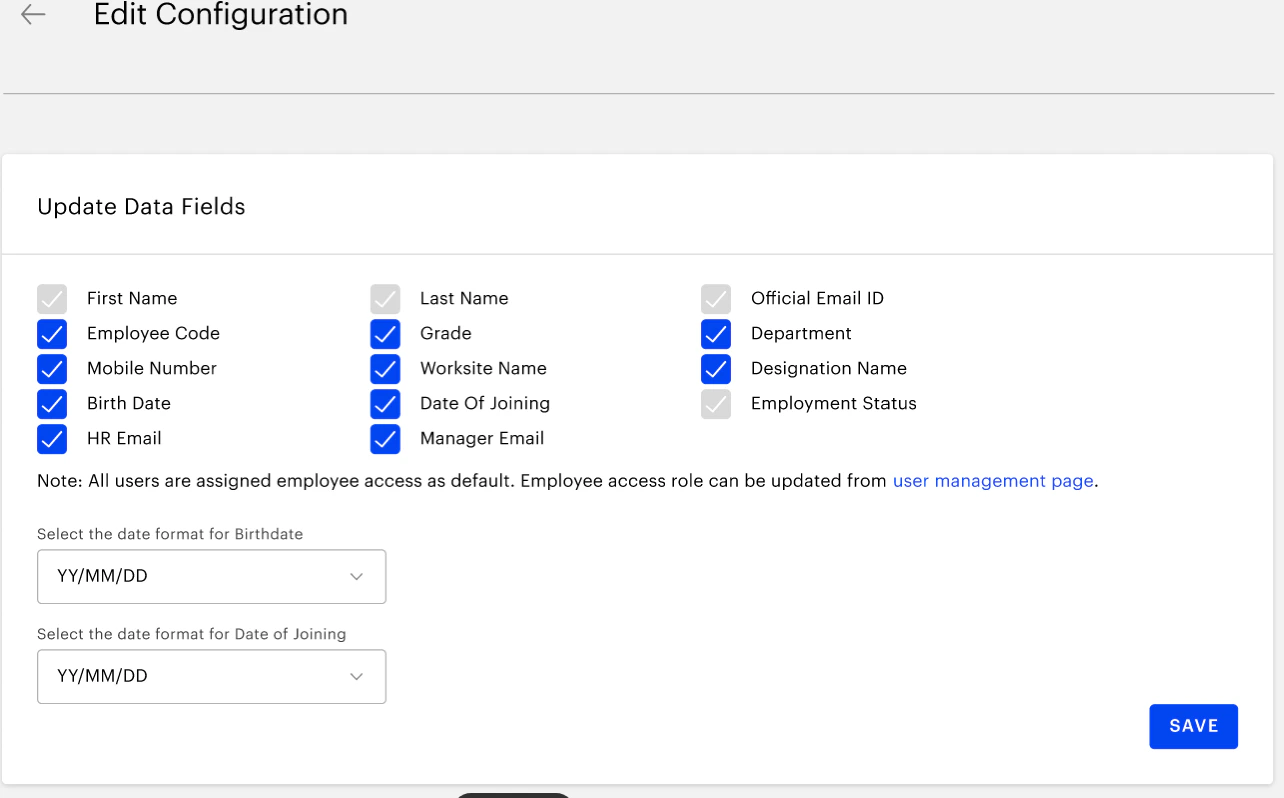
Select and map data fields

- First name
- Last name
- Official email
- Employee code/ID
- Grade
- Department
- Designation
- Date of birth
- Date of Joining
- Mobile number
- Business Unit
- Cost center
- Location
- Contact/Mobile number
Define filtering criteria to avoid account creation
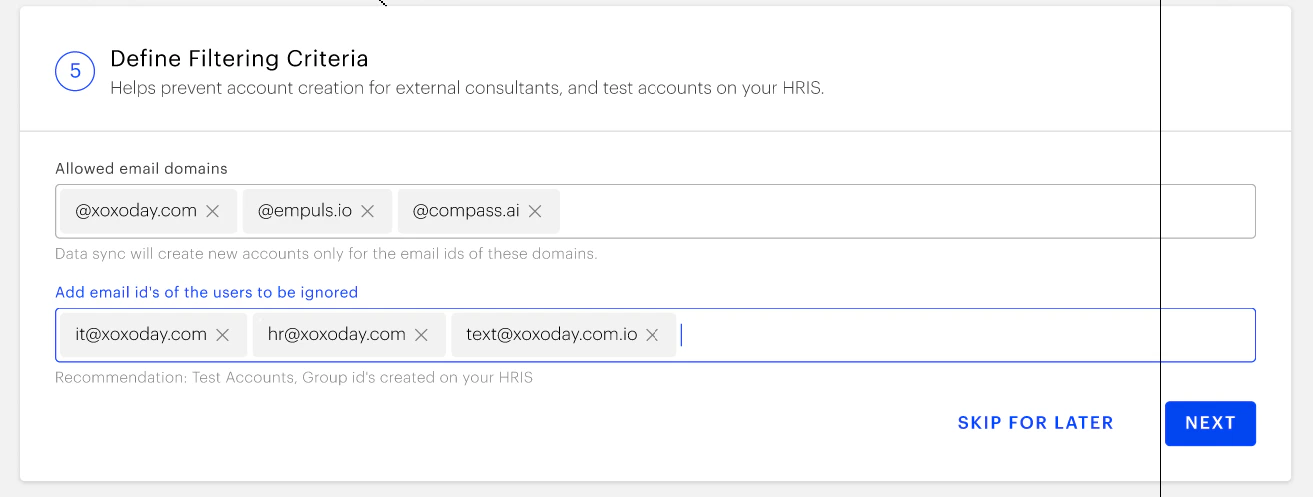
Download data to validate
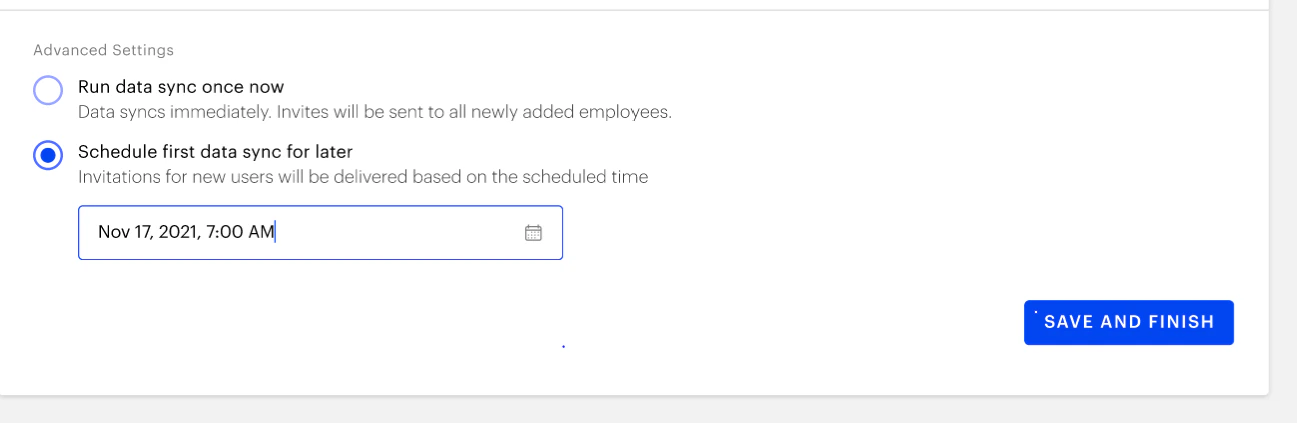
In this step, you can choose between two
- Run Date Sync Once Now: Select this option to launch your Empuls account immediately. This will create accounts for all employees and send invites.
- Schedule First Data Sync for Later: Select this option to schedule employee account creation to a later date and time. This will help you plan and execute employee account creation on Empuls to coincide with your internal launch announcements.
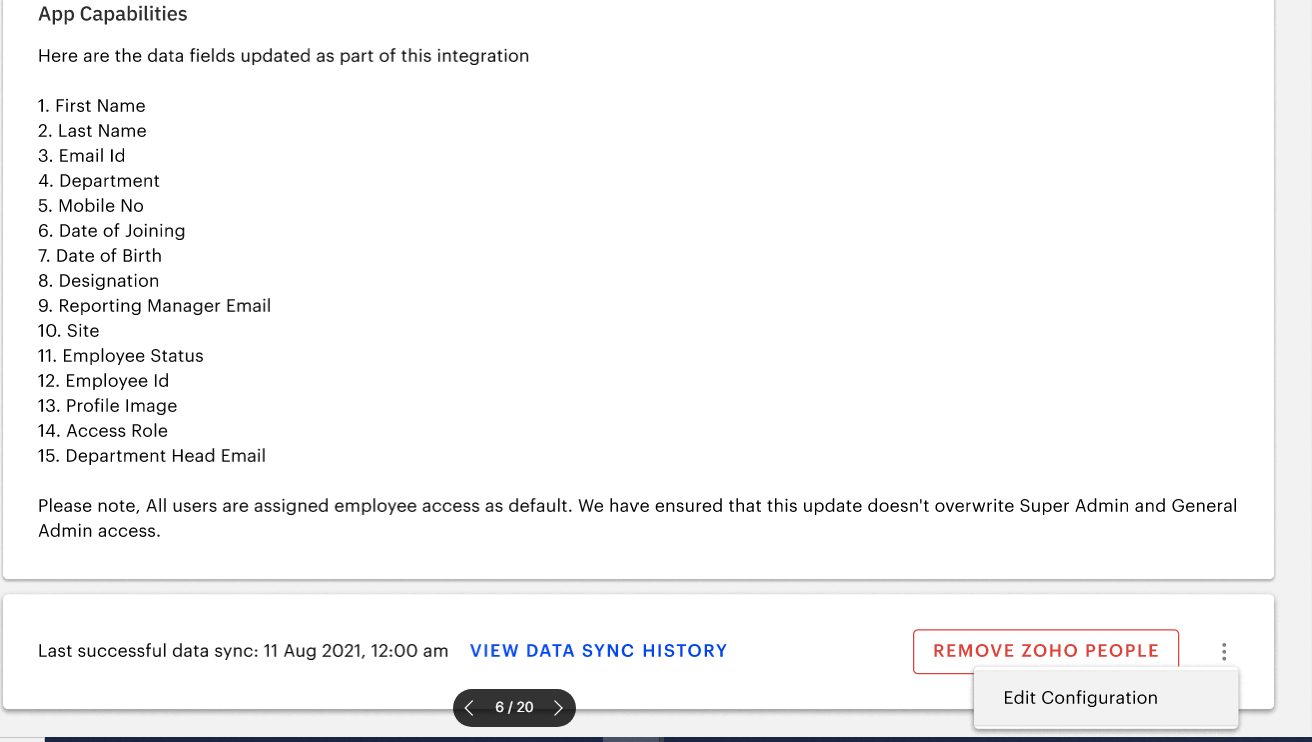
Edit the configuration
Log in to your Empuls account
Go to Admin Dashboard by clicking on Reports
Navigate to Integrations
Navigate to the Active Integrations section and click
Click on the three dots beside
Click on SAVE
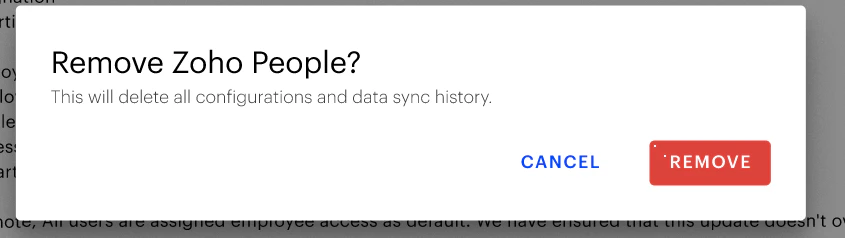
How to turn off this integration?
Log in to your Empuls account
Go to Admin Dashboard by clicking on Reports
Navigate to Integrations
Navigate to the Active Integrations section and click
You can turn off the integration
It will ask whether you want