
Admin Capabilities
Use the scheduling tool to fully customize and automate your reward campaigns:- Set Delivery Timing: Choose the exact date and time the gift will be delivered to employees.
- Define the Audience: Send gifts to specific individuals, custom groups, or the entire organization.
- Assign Reward Value: Attach reward points, specific brand vouchers, or non-monetary recognition.
- Personalize Messaging: Customize the email or platform message template to match the occasion.
- Brand the Experience: Upload custom visuals, banners, or company branding for the digital gift card.
When to Use Scheduled Gifts
Scheduling is ideal for predictable, date-specific events where you want to ensure the whole team receives a consistent, timely experience.Cultural & Company Holidays
Automate gifts for major celebrations so HR teams don’t have to manually send rewards on days off.Examples: Diwali gifts, Christmas celebrations, or Company Foundation Day
Thematic Celebrations & Events
Pre-plan rewards for global awareness days or internal company events.Examples: International Women’s Day, Men’s Day, or Employee Appreciation Day
Recurring Engagement Programs
Set up systematic rewards for ongoing company initiatives.Examples: Monthly wellness participation rewards or end-of-quarter team appreciation
Pre-planned Campaigns
Align gift deliveries with the launch of internal marketing or HR campaigns.Examples: Kick-off rewards for a new learning festival or a quarterly sales sprint
How to schedule gifts
Use the Scheduled Gifts feature to pre-plan and automate the delivery of greetings and rewards on a specific future date. This is ideal for company-wide holidays, upcoming team events, or specific campaign milestones.Step 1: Initiate the Scheduled Gift
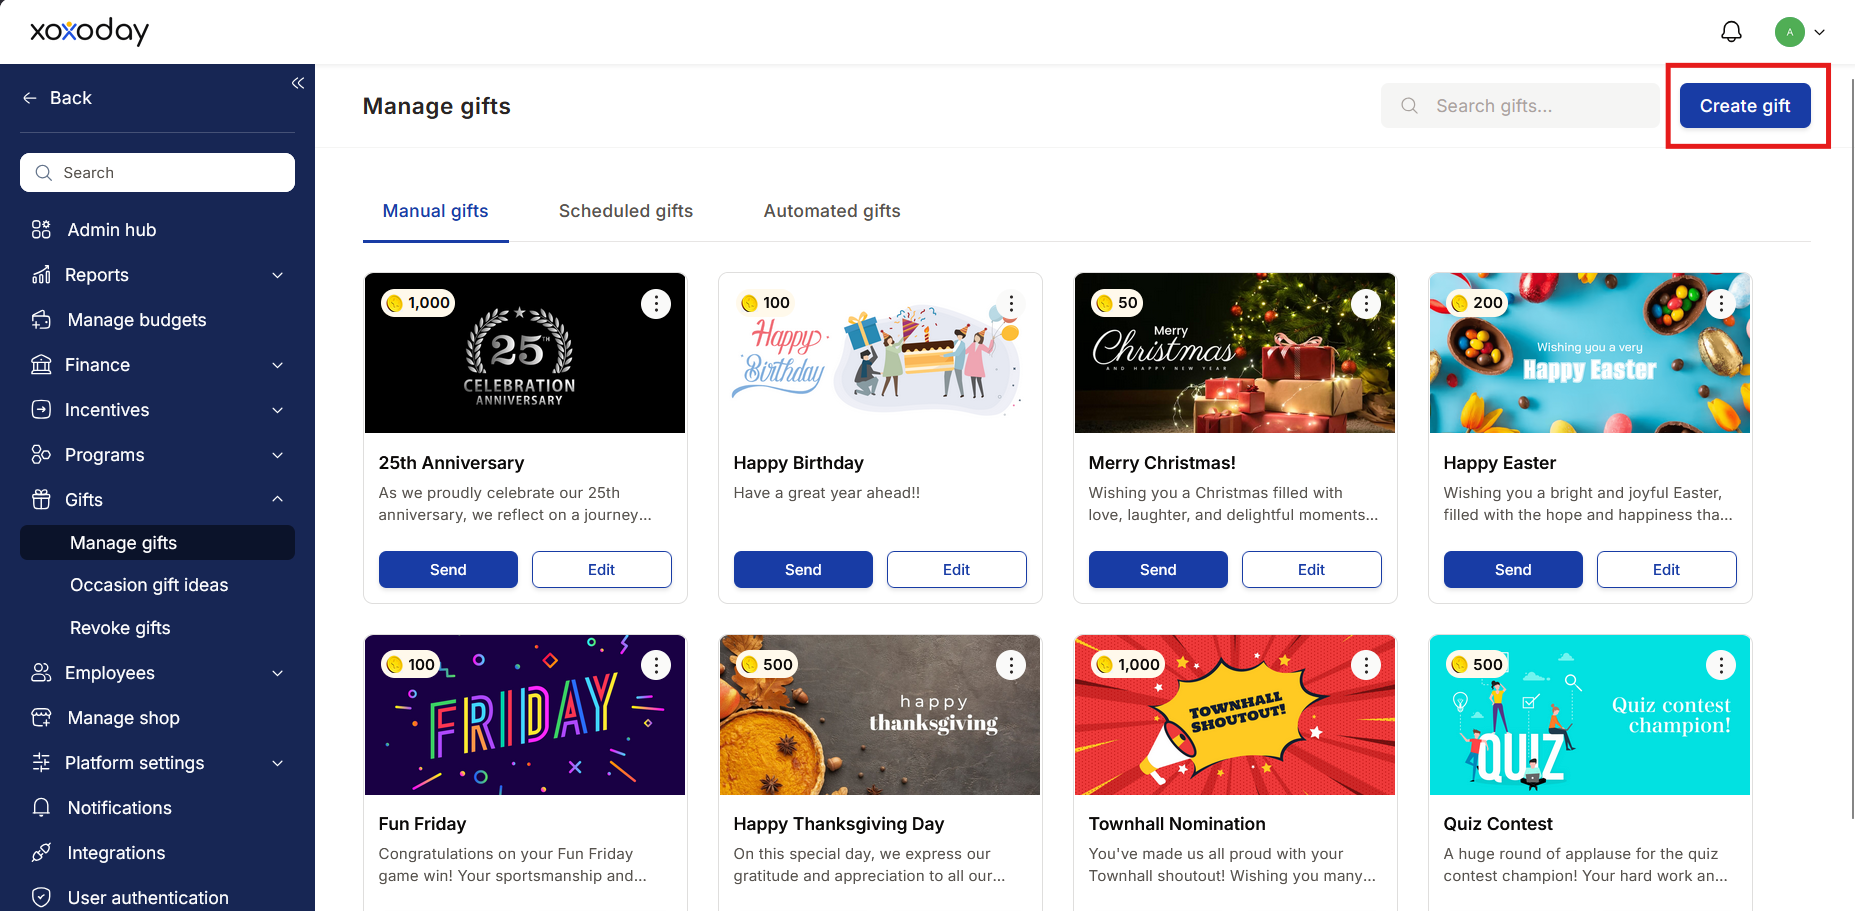
- Navigate to the Manage gifts dashboard and click Create gift.
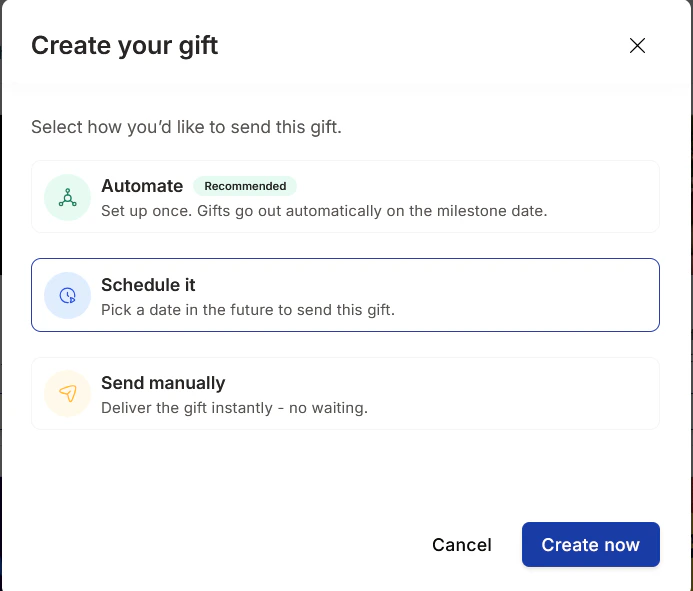
- In the “Create gift” modal, select the Schedule it option.
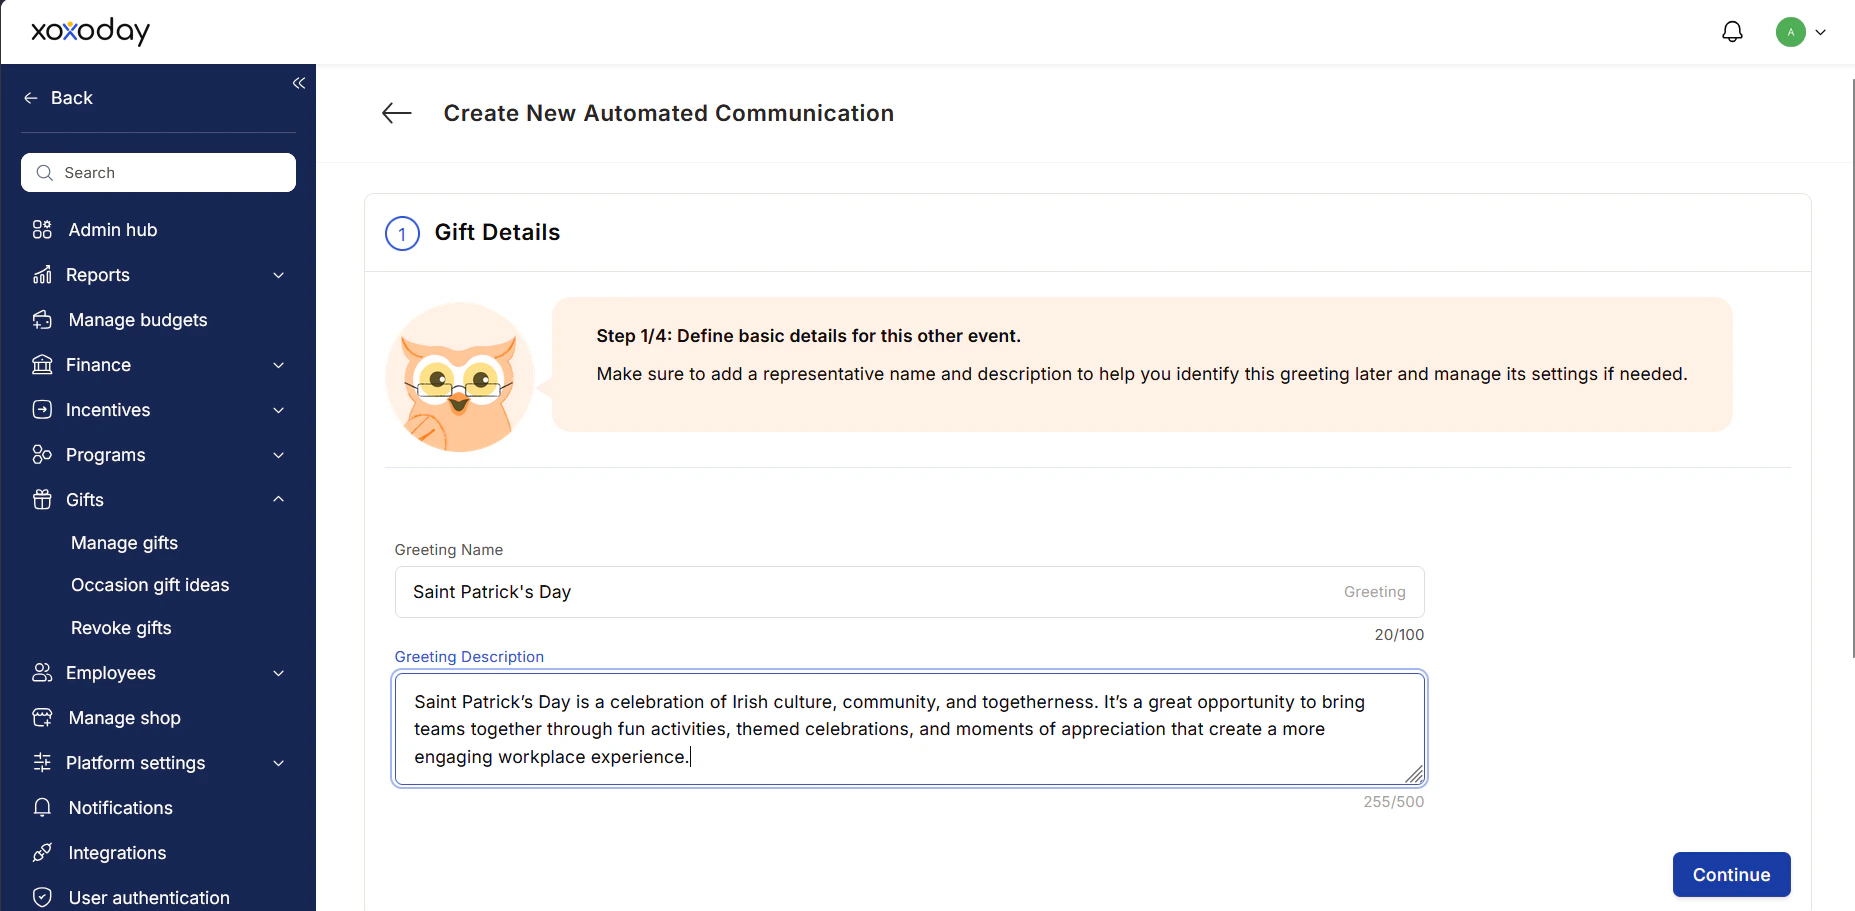
Step 2: Define Gift Details
Provide basic information to help you identify and manage this campaign in your admin dashboard.- Enter a Greeting Name (e.g., “Thanksgiving”).
- Add a brief Greeting Description for internal reference.
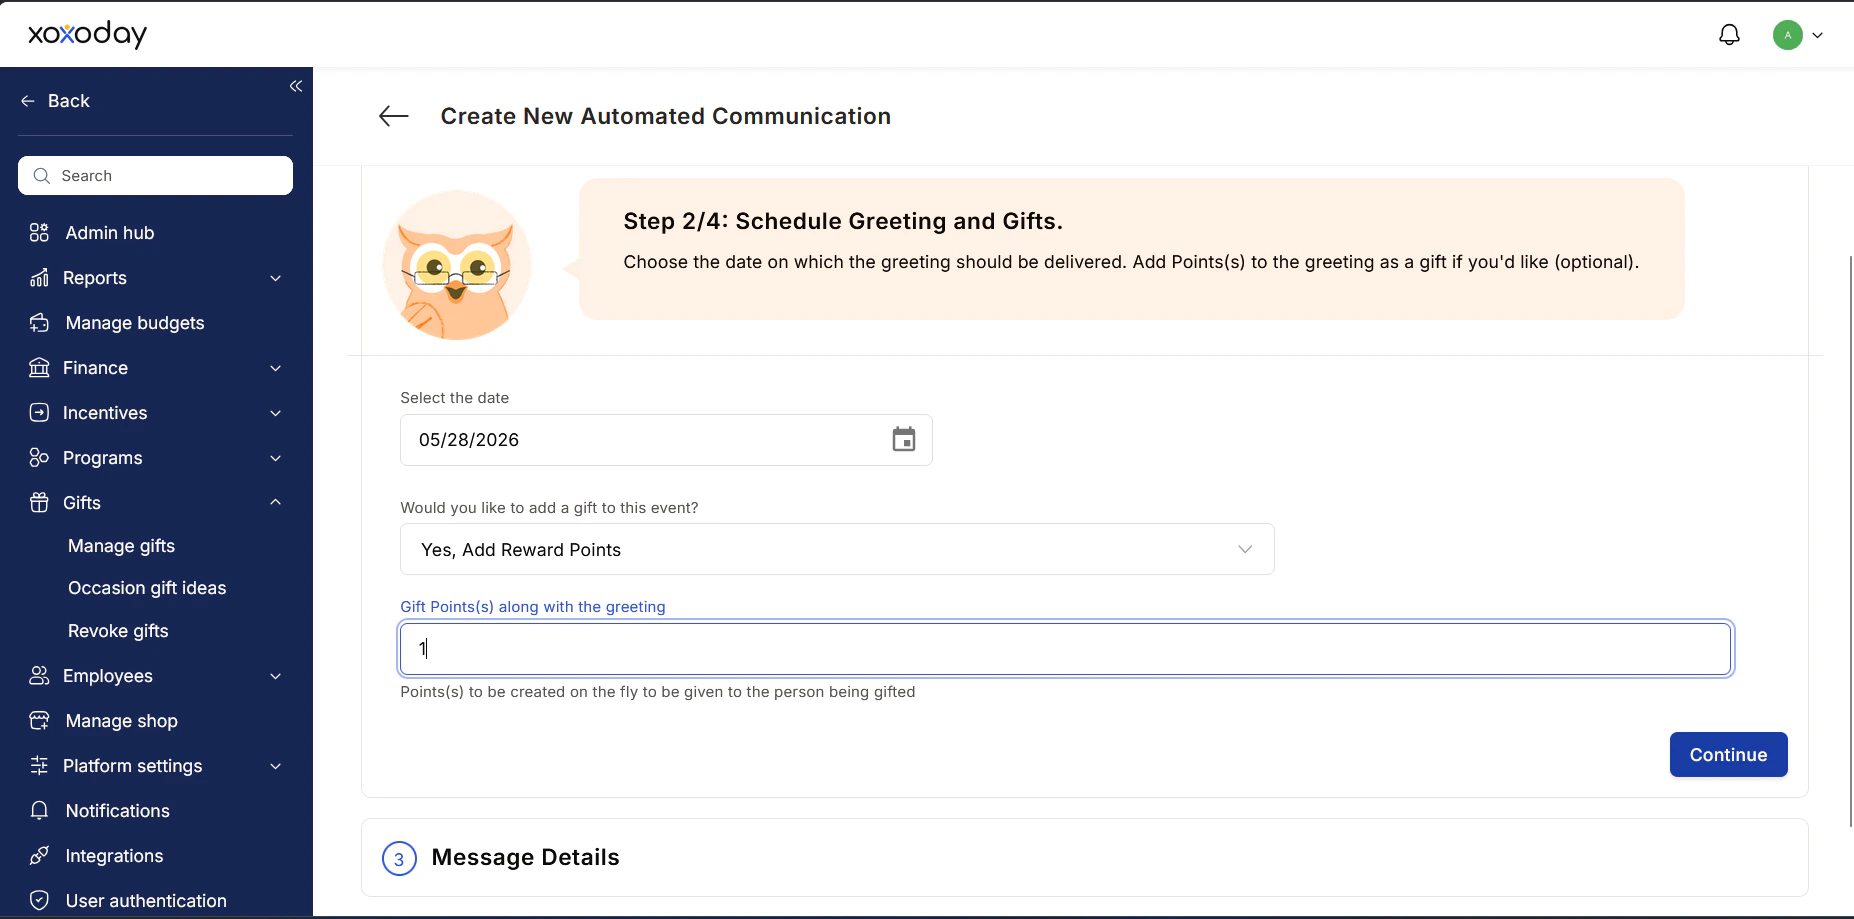
Step 3: Schedule Date and Points
Determine exactly when the gift goes out and what reward is attached.- Select the date: Click the calendar icon to choose the delivery date.
(Note: You must select a future date; selecting a past date will trigger a “Please select a future date” error.) - Add a gift (Optional): Use the dropdown menu under “Would you like to add a gift to this event?” to select your reward type (e.g., “Yes, Add Reward Points”).
- Set the value: Enter the specific number of points each recipient will receive.
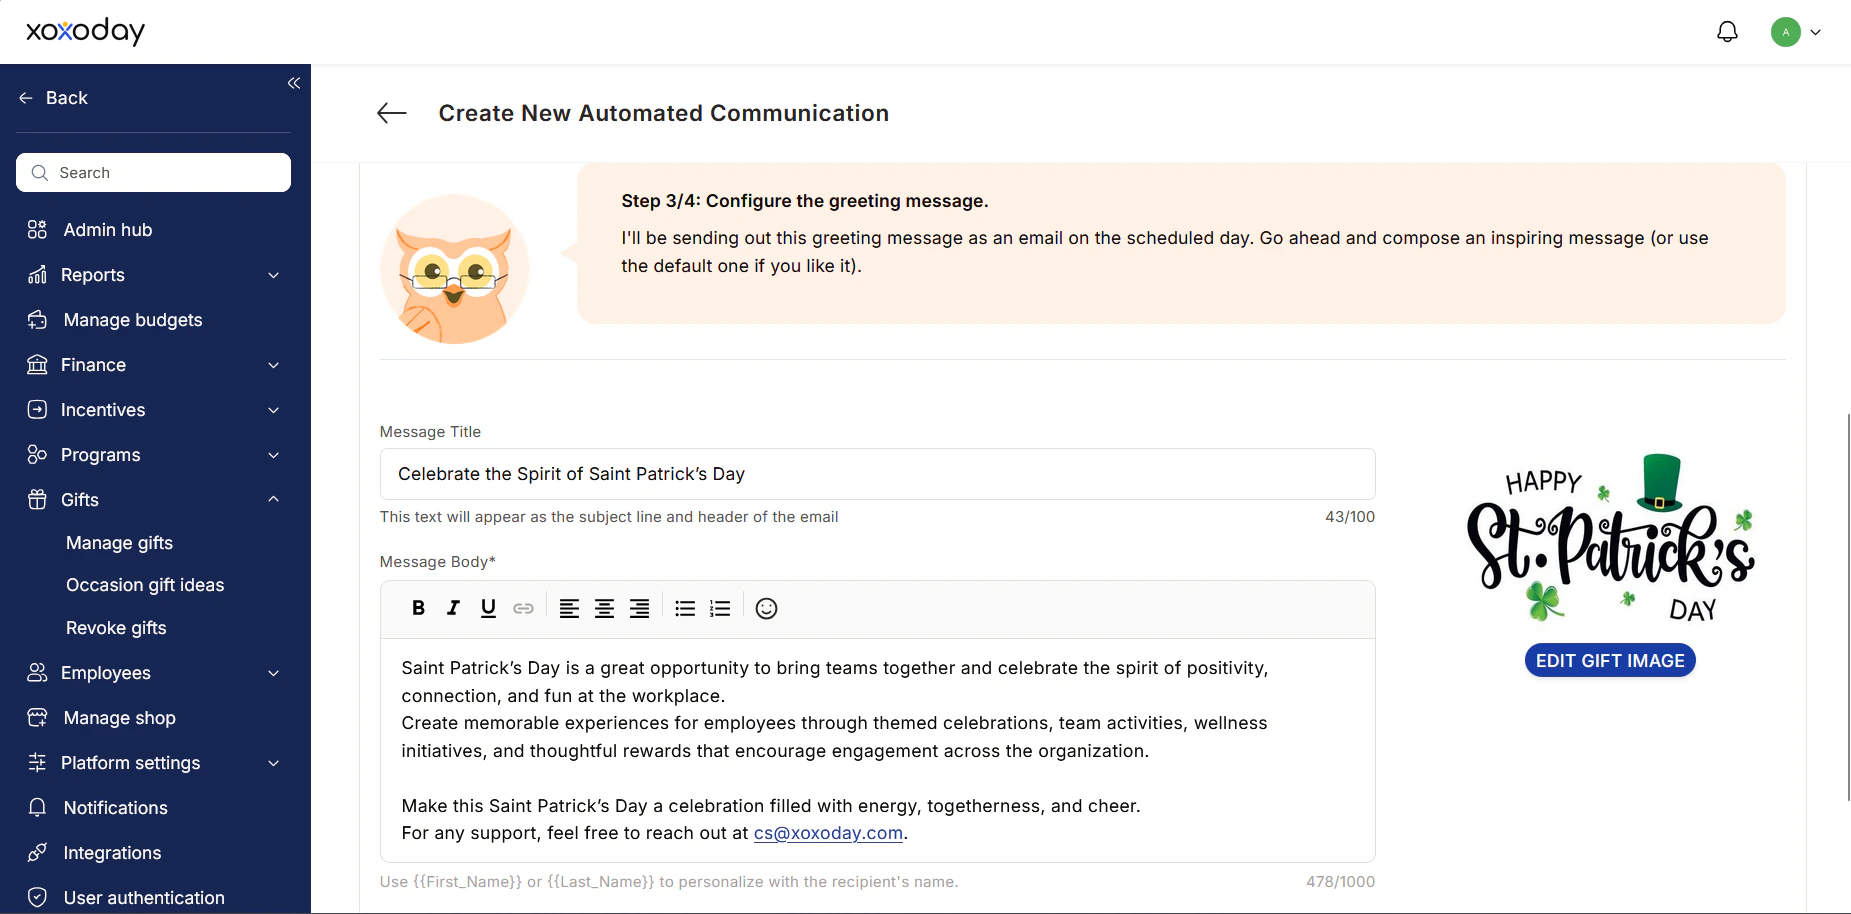
Step 4: Configure Message Details
Customize the email communication that recipients will receive on the scheduled day.- Enter a Message Title. This text will appear as the email subject line and the header of the message.
- Compose the Message Body with an inspiring or appreciative note.
- Click Edit Gift Image to swap out the default graphic with a custom visual or themed banner (e.g., a holiday or event-specific image).
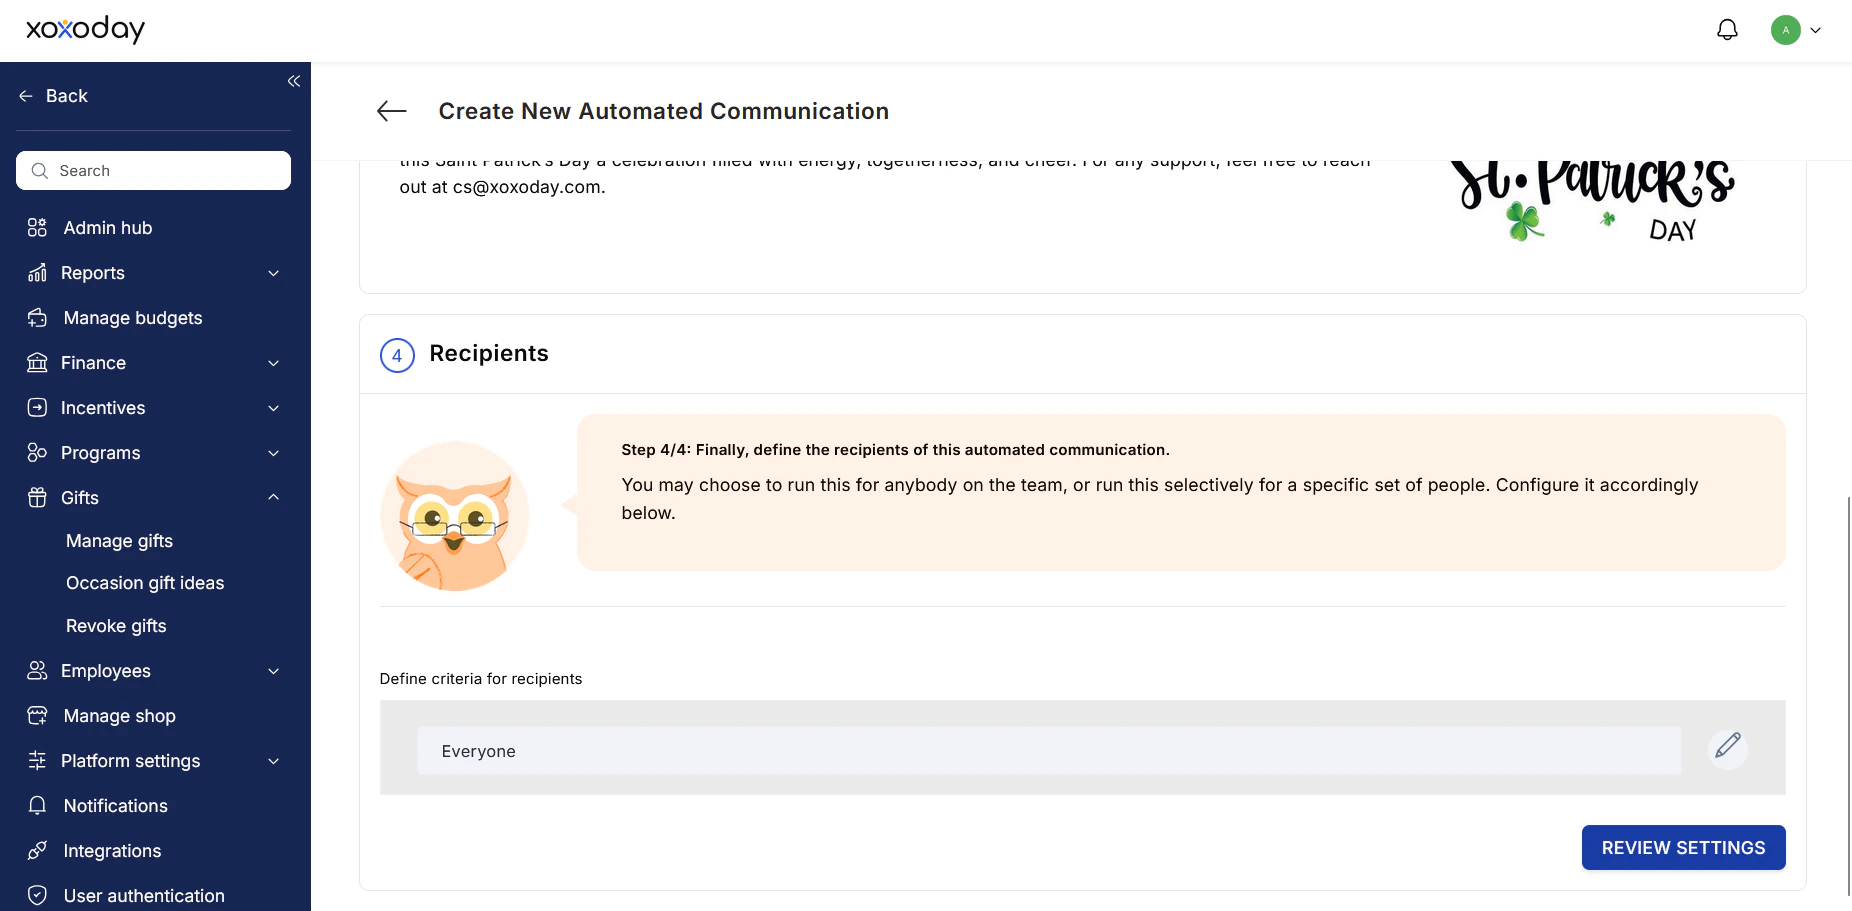
Step 5: Define Recipients
Select the audience for your scheduled communication.- Under Define criteria for recipients, review the selected audience. By default, this may be set to “Everyone”.
- To narrow your audience, click the Edit (pencil) icon to selectively target a specific set of people or teams.
- Once your audience is set, click Review Settings to verify your setup and finalize the scheduled gift.
Need Help?
For feedback or assistance, contact support at:cs@xoxoday.com