
Step 1: Navigate to the Dashboard
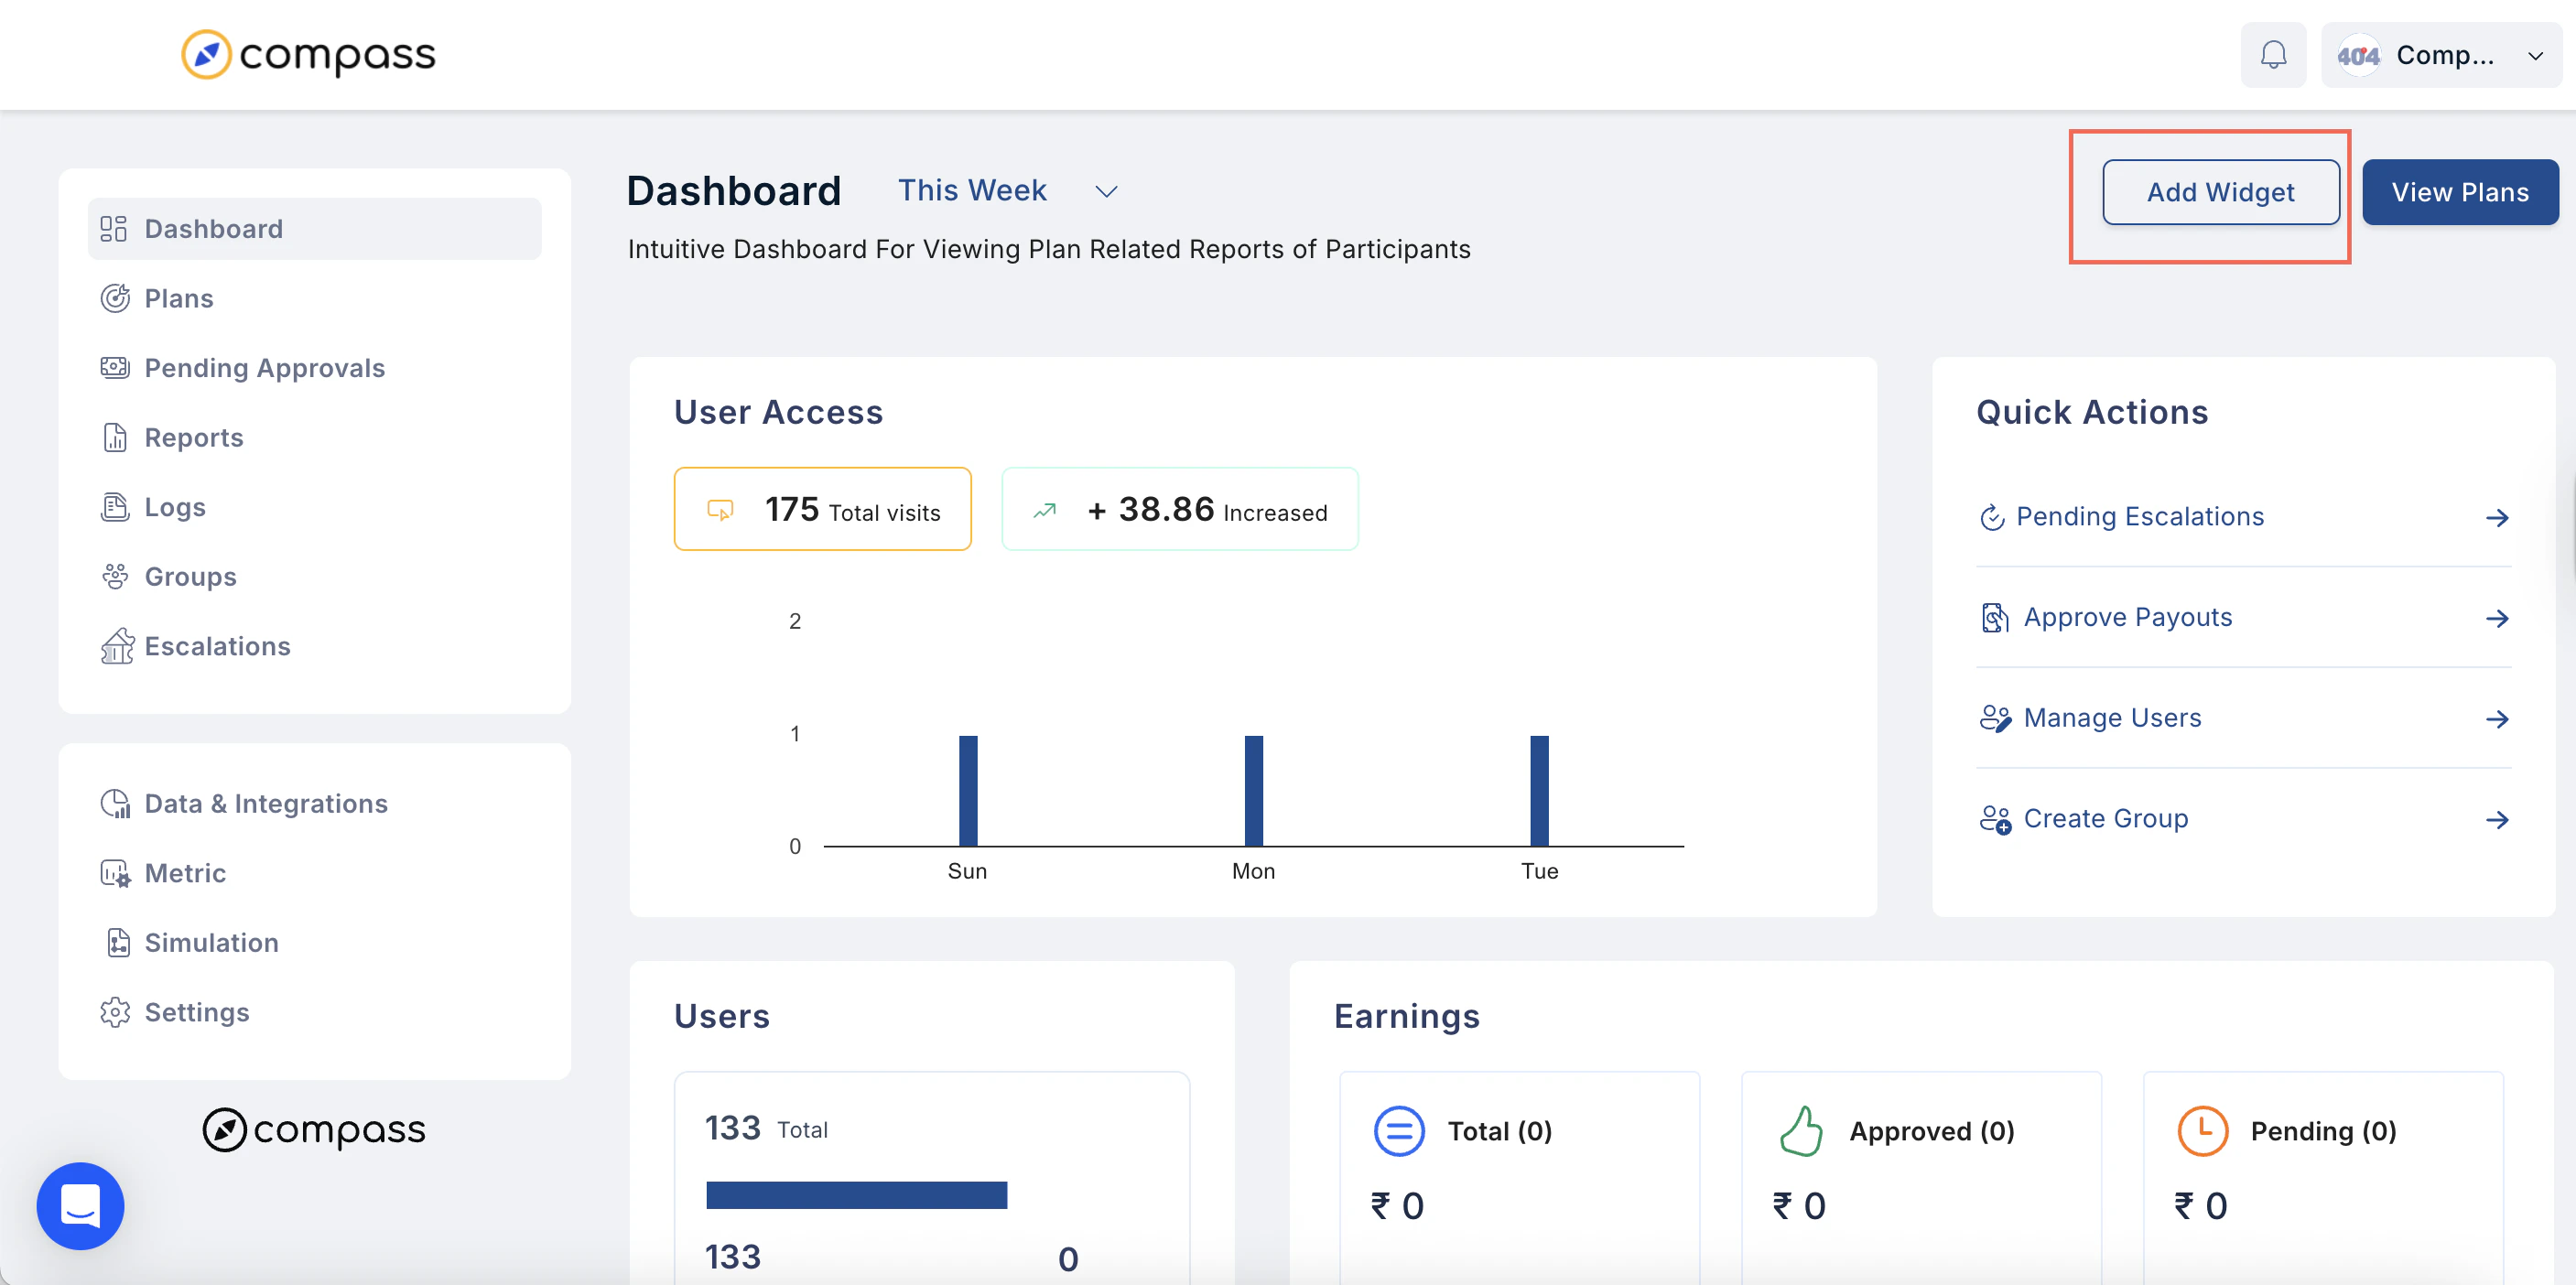
- Go to Dashboards in the main menu.
- Click Add a Widget.
Step 2: Set Up Your Report
- Name Your Report – Enter a clear, descriptive name.
-
Select the Type of Report – Choose from the following options:
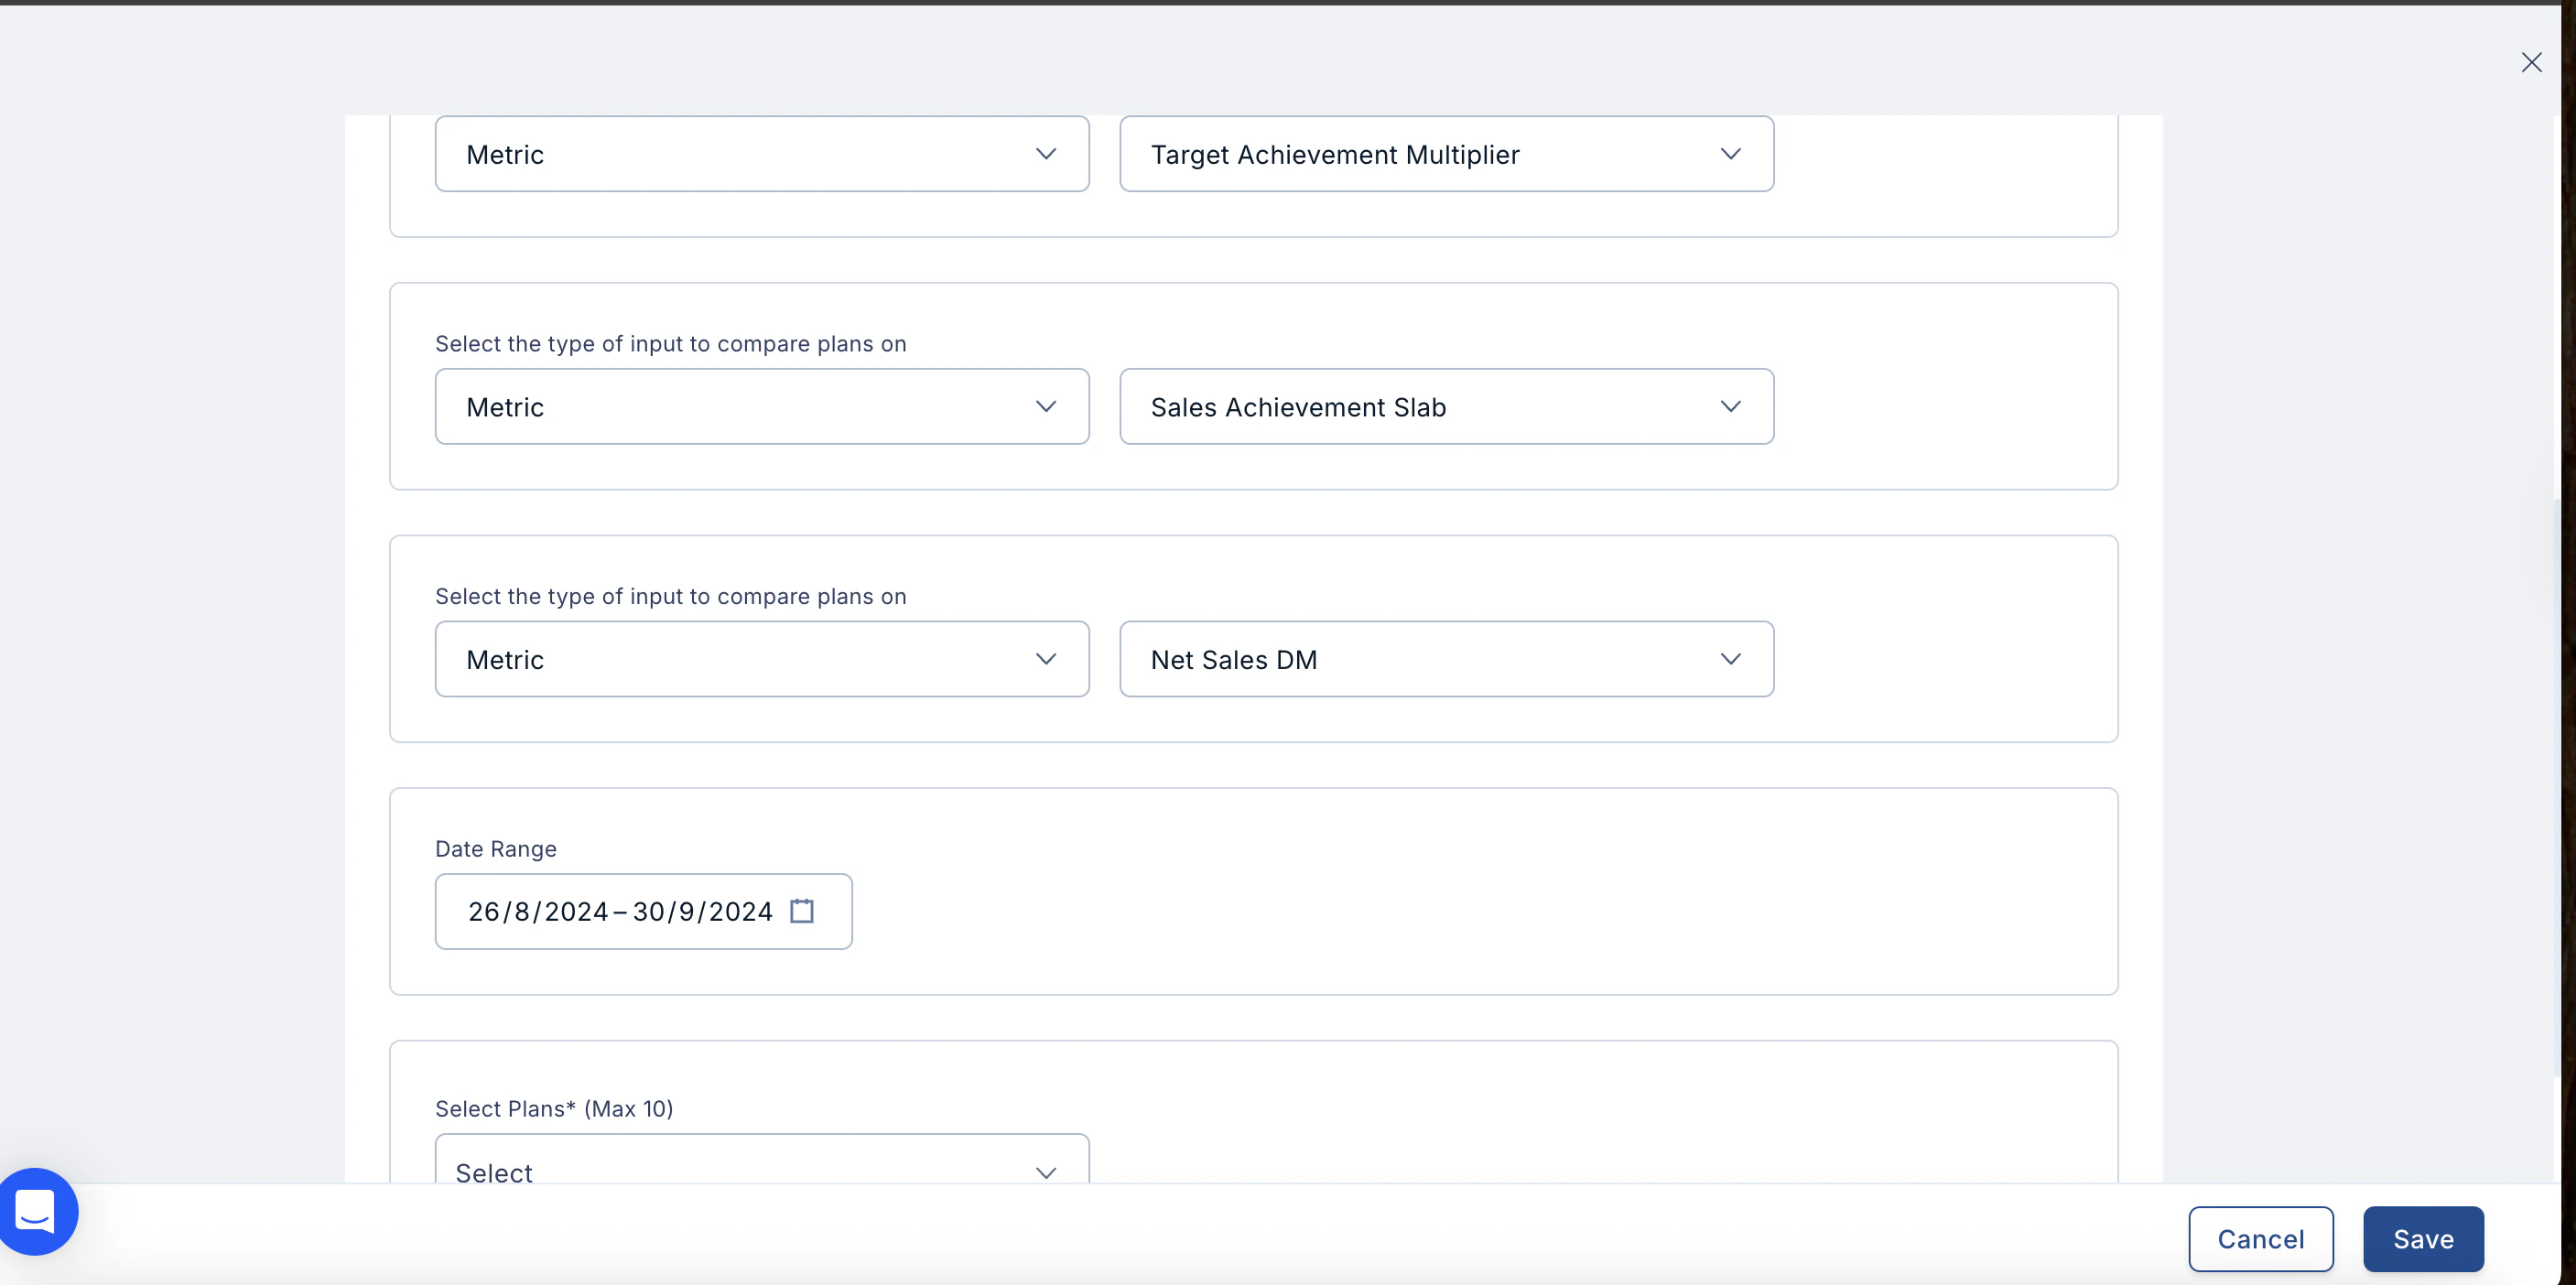
2.1 Plan vs Plan
- Purpose: Track performance (metrics, rewards, or scores) across multiple plans.
-
How to Set Up:
- Select the type of input to compare – Metric, Score, or Point.
- For each, choose the specific metric, score, or point from the dropdown.
- Select the date range using the Calendar.
- Select the plans from the dropdown menu.
- Click Save.
-
Editing/Deleting:
- Can be edited using the three-dot menu.
- Can be deleted from the dashboard.
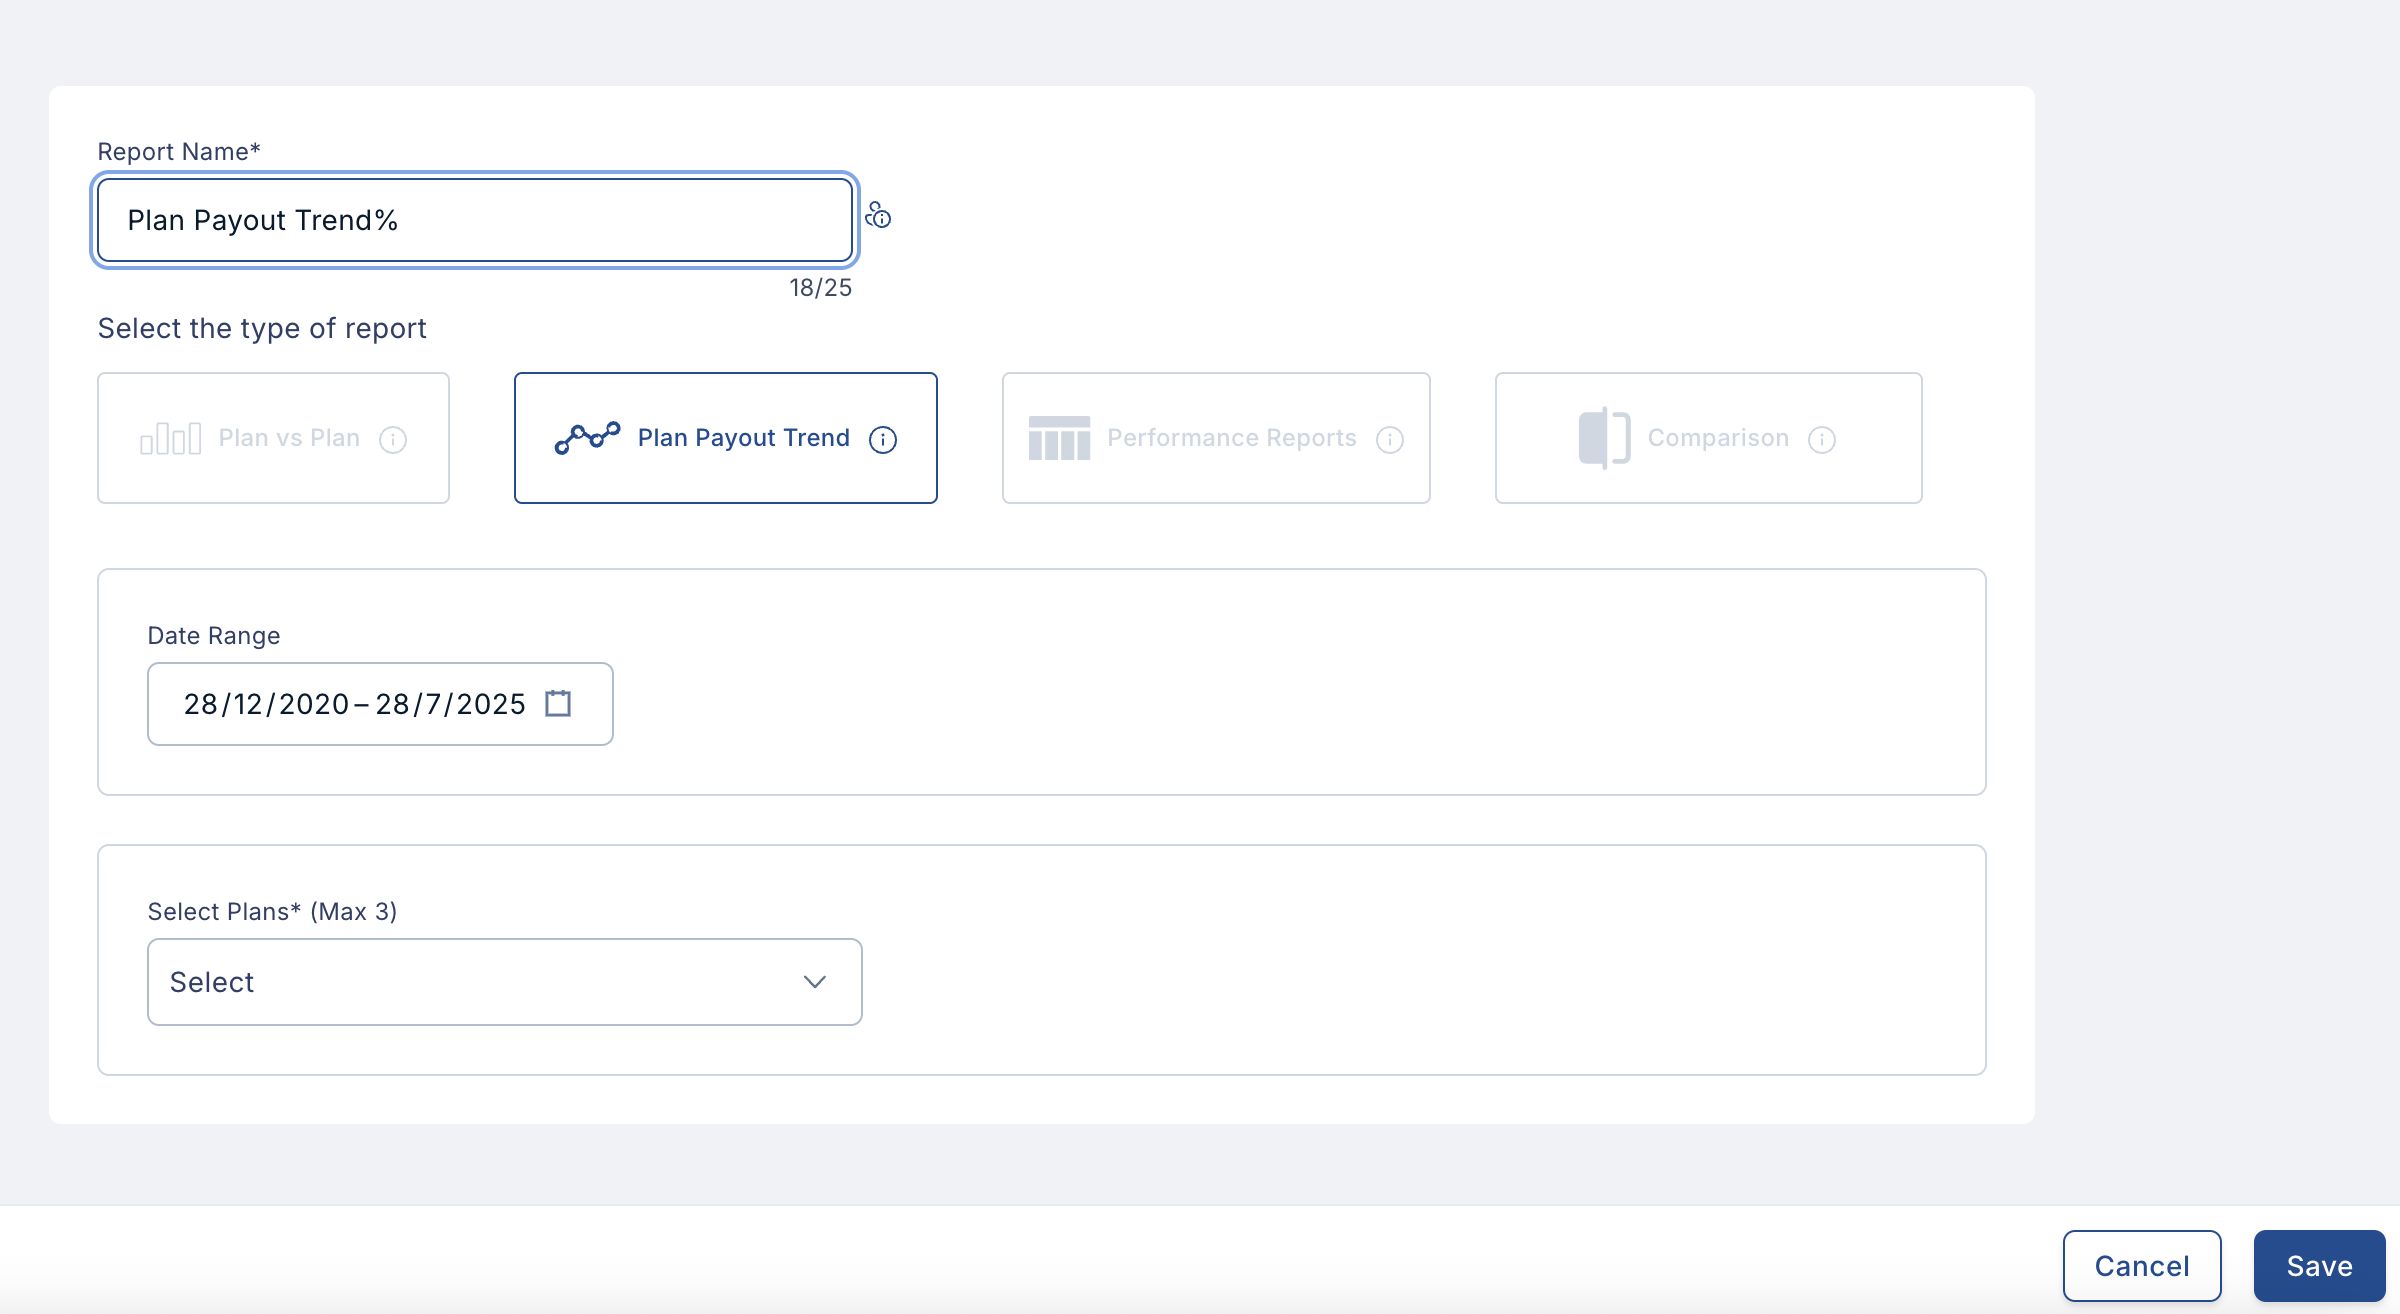
2.2 Plan Payout Trend
- Purpose: Track performance of a metric, reward, or score over time.
-
How to Set Up:
- Select the date range using the Calendar.
- Select up to three plans from the dropdown menu.
- Click Save.
-
Editing/Deleting:
- Can be edited using the three-dot menu.
- Can be deleted from the dashboard.
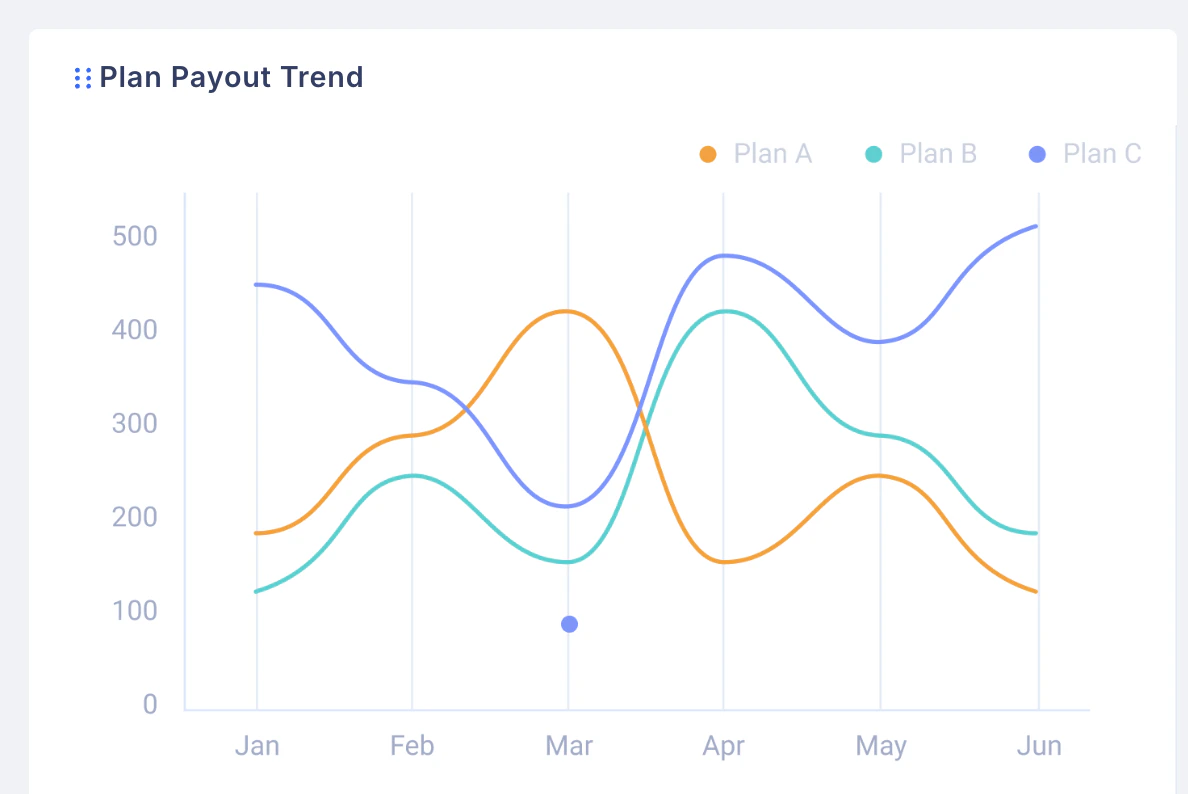
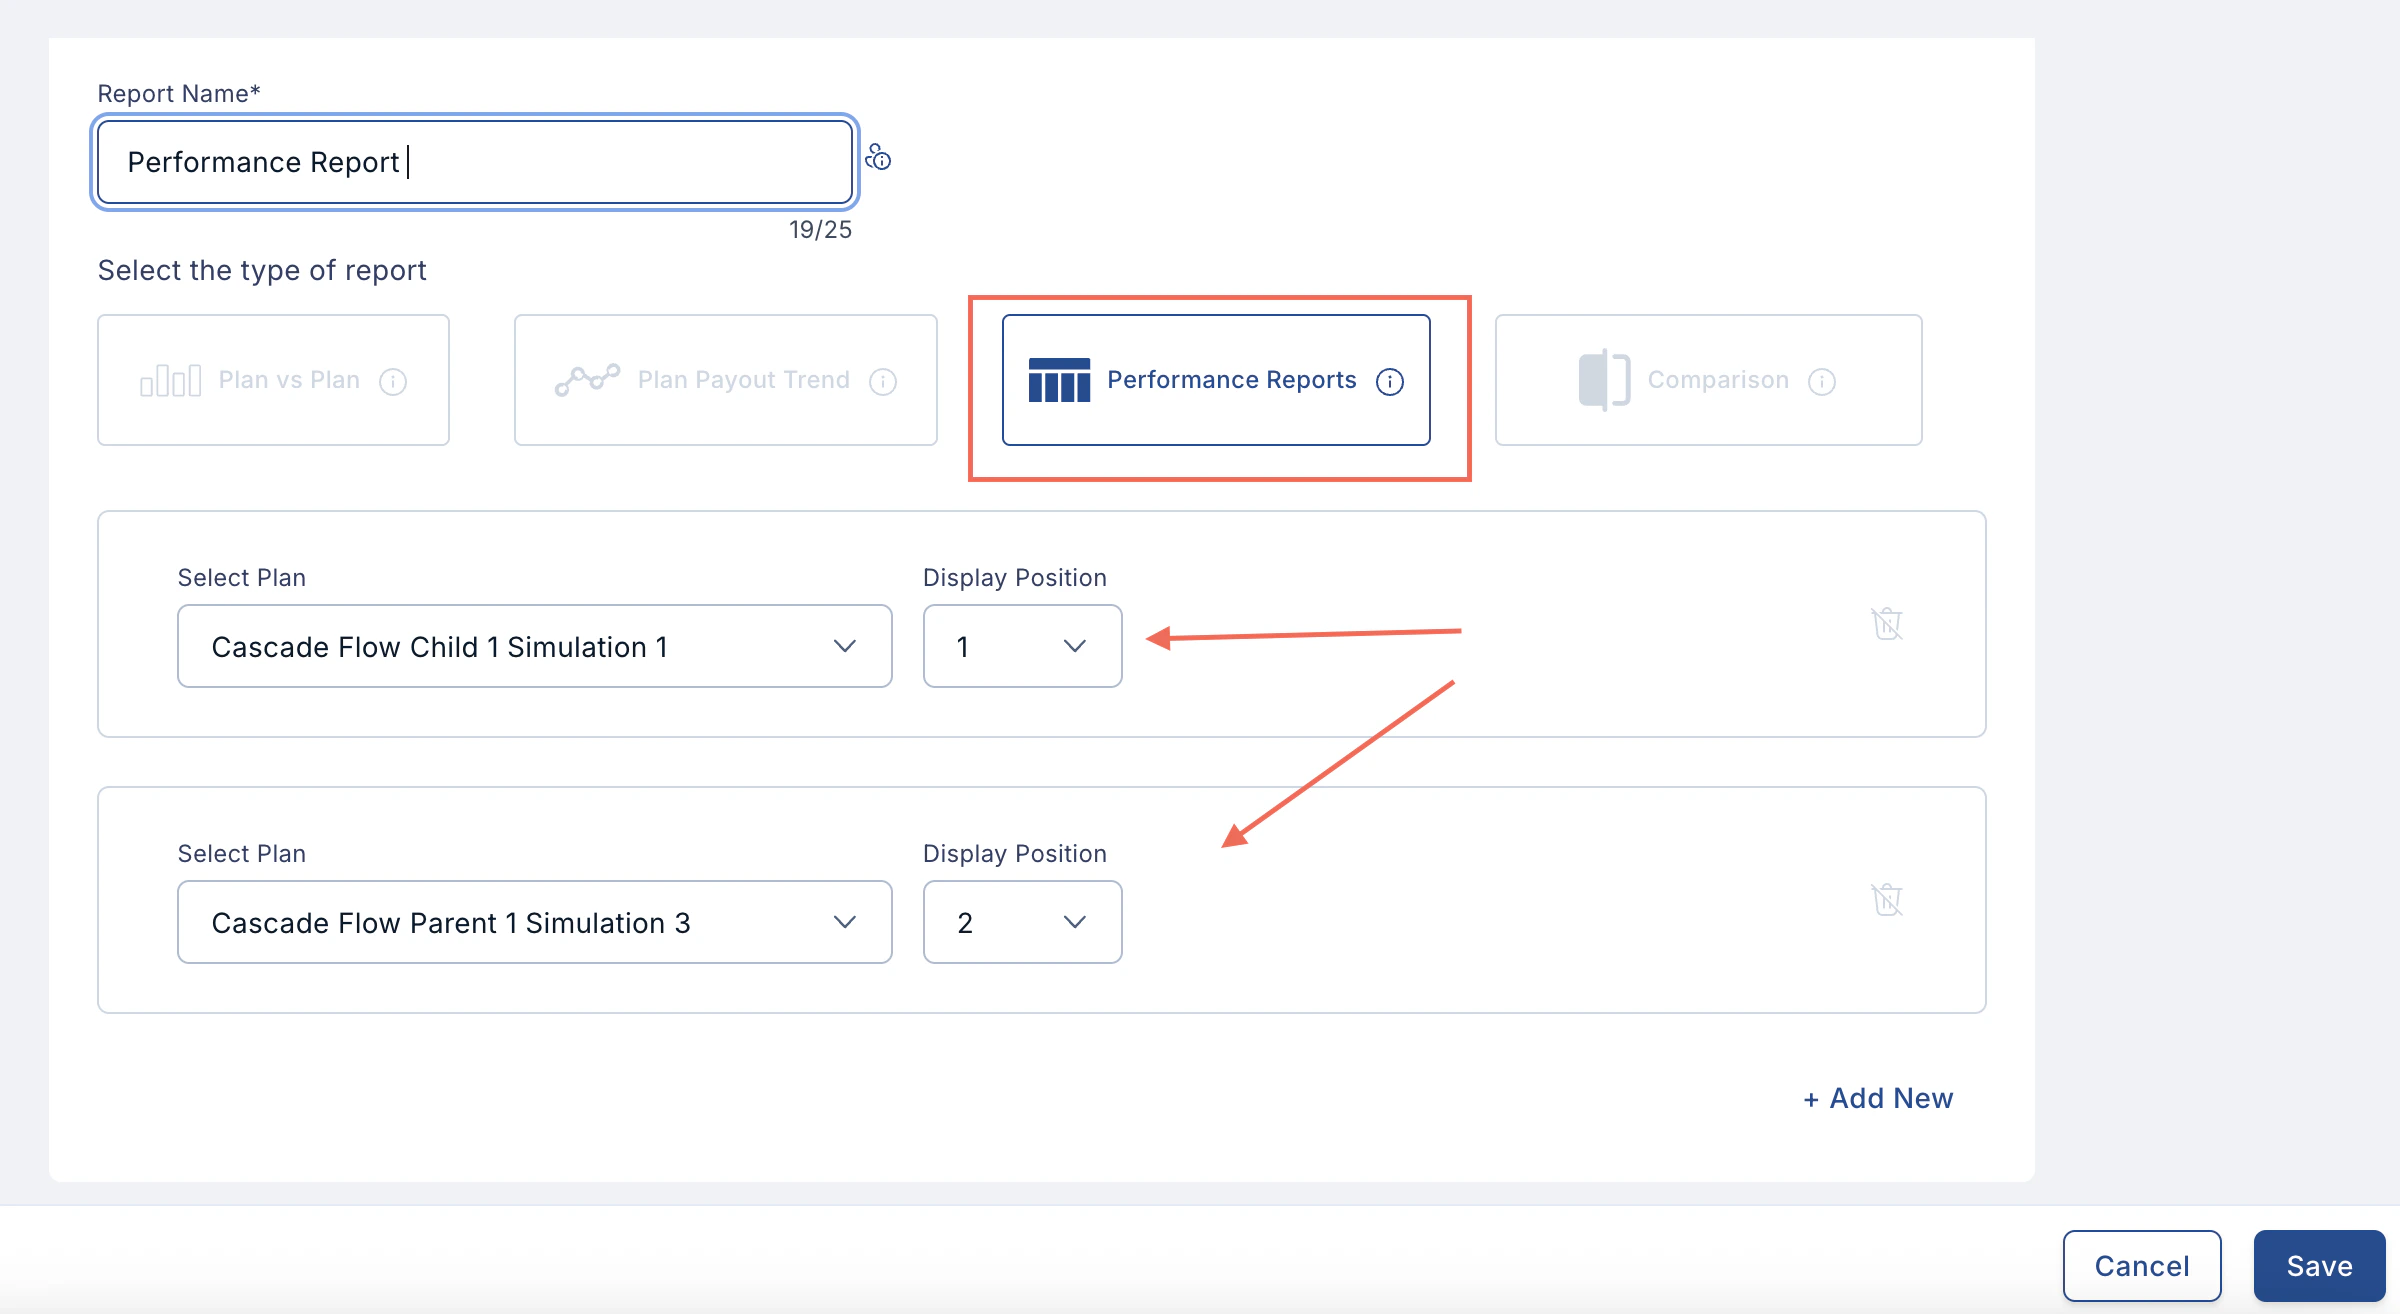
2.3 Performance Report
- Purpose: Track a plan’s performance report across plans.
-
How to Set Up:
- Select the plan from the dropdown menu.
- Choose the positioning.
- To add more performance reports, click Add New and repeat the process.
- Click Save.
-
Editing/Deleting:
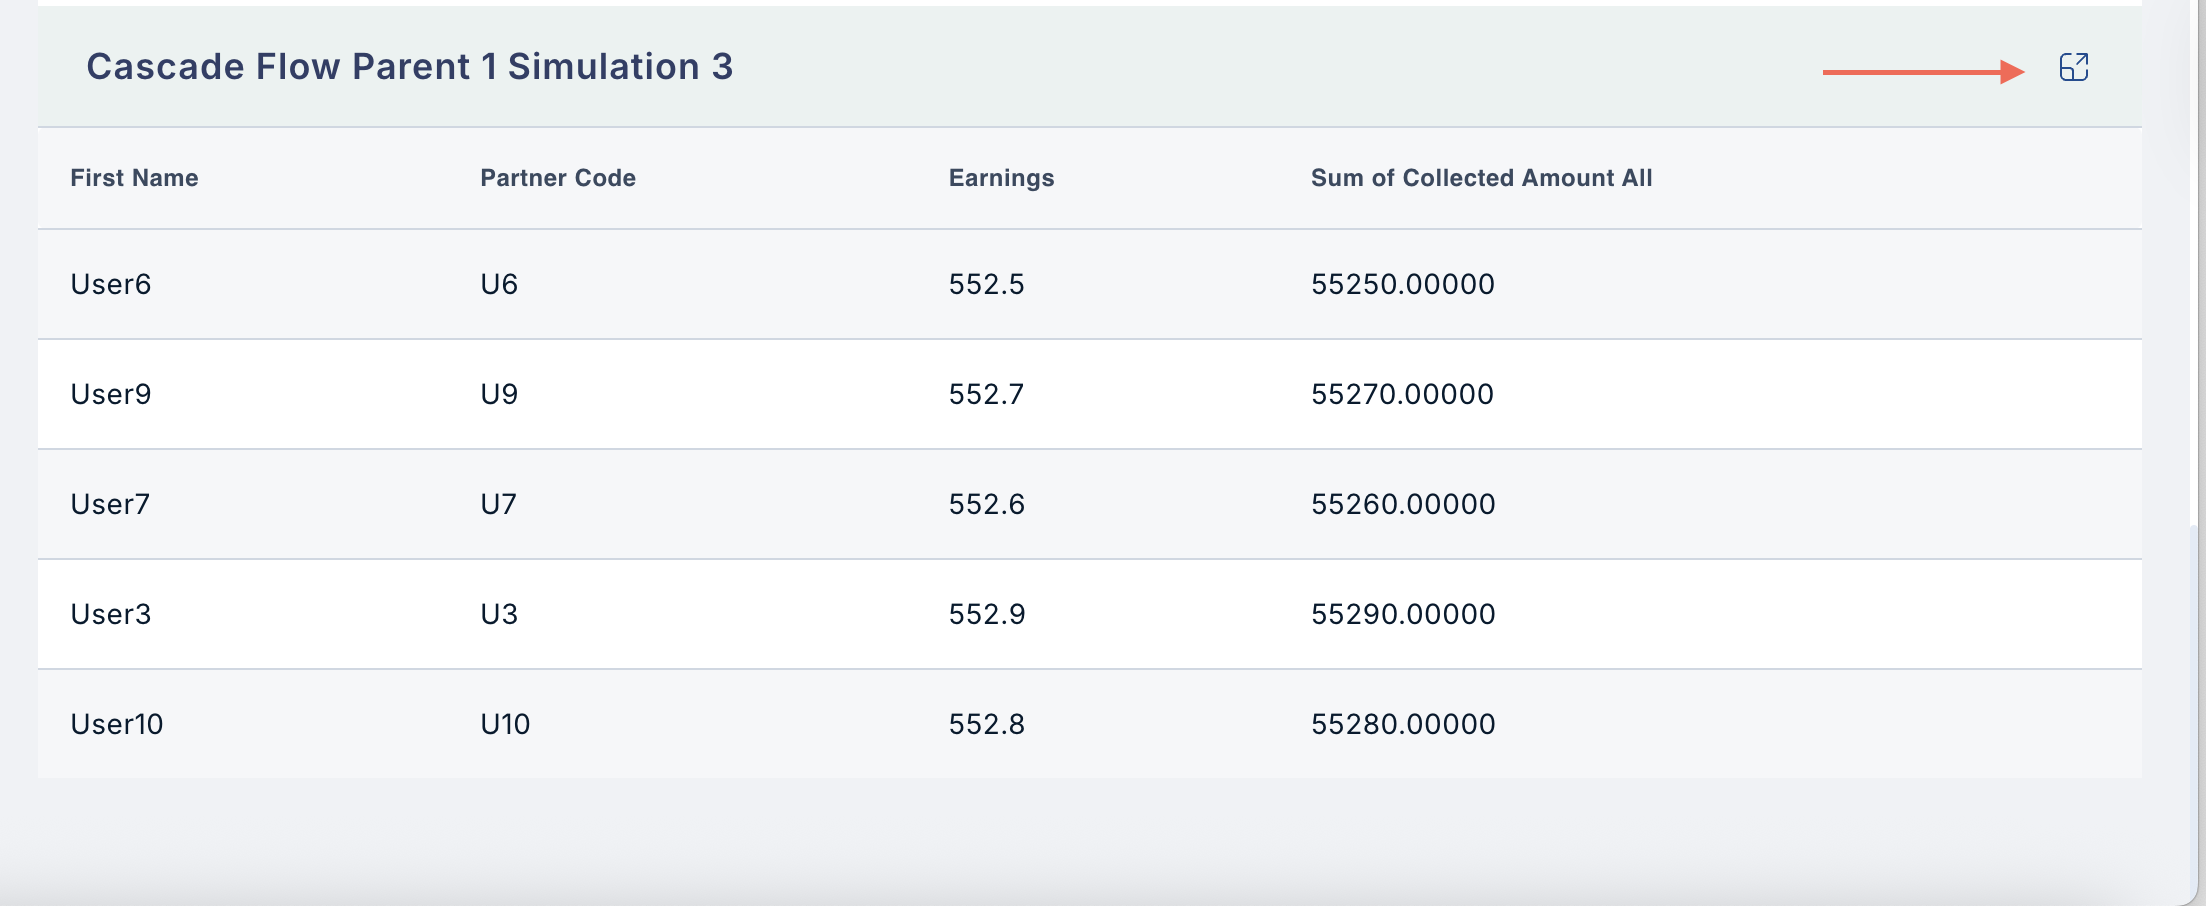
- Can be expanded for advanced functionality using the three-dot menu.
- Cannot be deleted from the dashboard.
2.4 Comparison
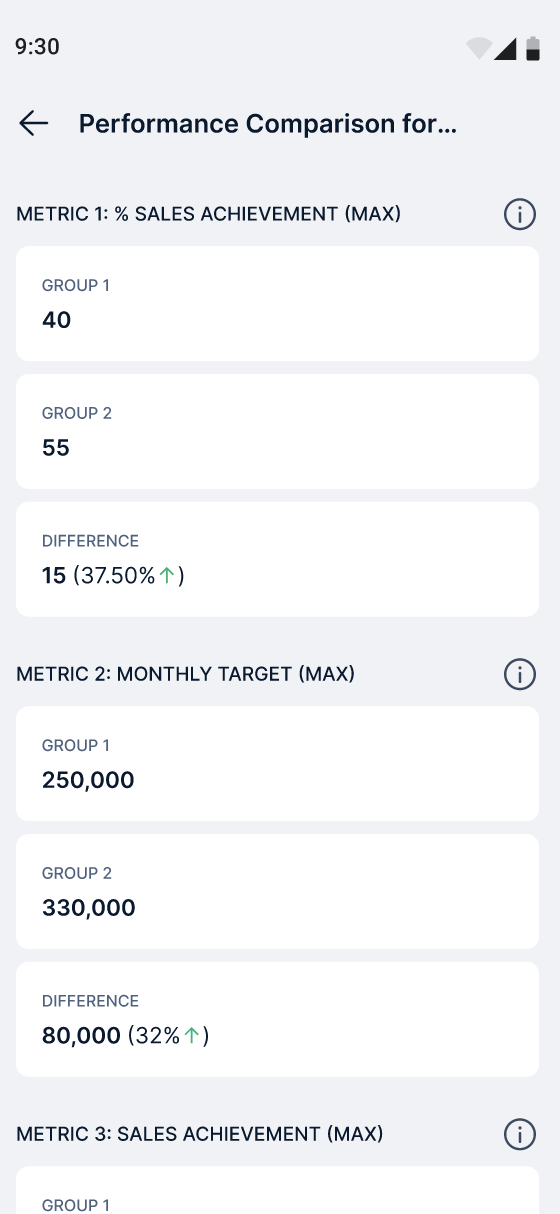
- Purpose: Compare two or more plans based on common metrics.
-
How to Set Up:
-
Group 1:
- Select the date range using the Calendar.
- Select up to 10 plans from the dropdown menu.
-
Group 2:
- Repeat the above steps for the second group.
-
Add the metrics you want to compare (up to 5 metrics).
- Make sure both groups share the same metrics.
- Click Save.
-
Group 1:
-
Editing/Deleting:
- Can be edited using the three-dot menu.
- Can be deleted from the dashboard.
- You can choose to make the widget visible to Managers or Users.
Need help? Reach out to your support team or Contact Support.