
Step 1: Design your template image
Prepare a certificate template image following these guidelines:- Image dimensions: A4 landscape format — 1240 × 1754 px for best results.
- Ensure the image has sufficient blank space for dynamic text fields (award name, recipient name, citation, signatory, date).

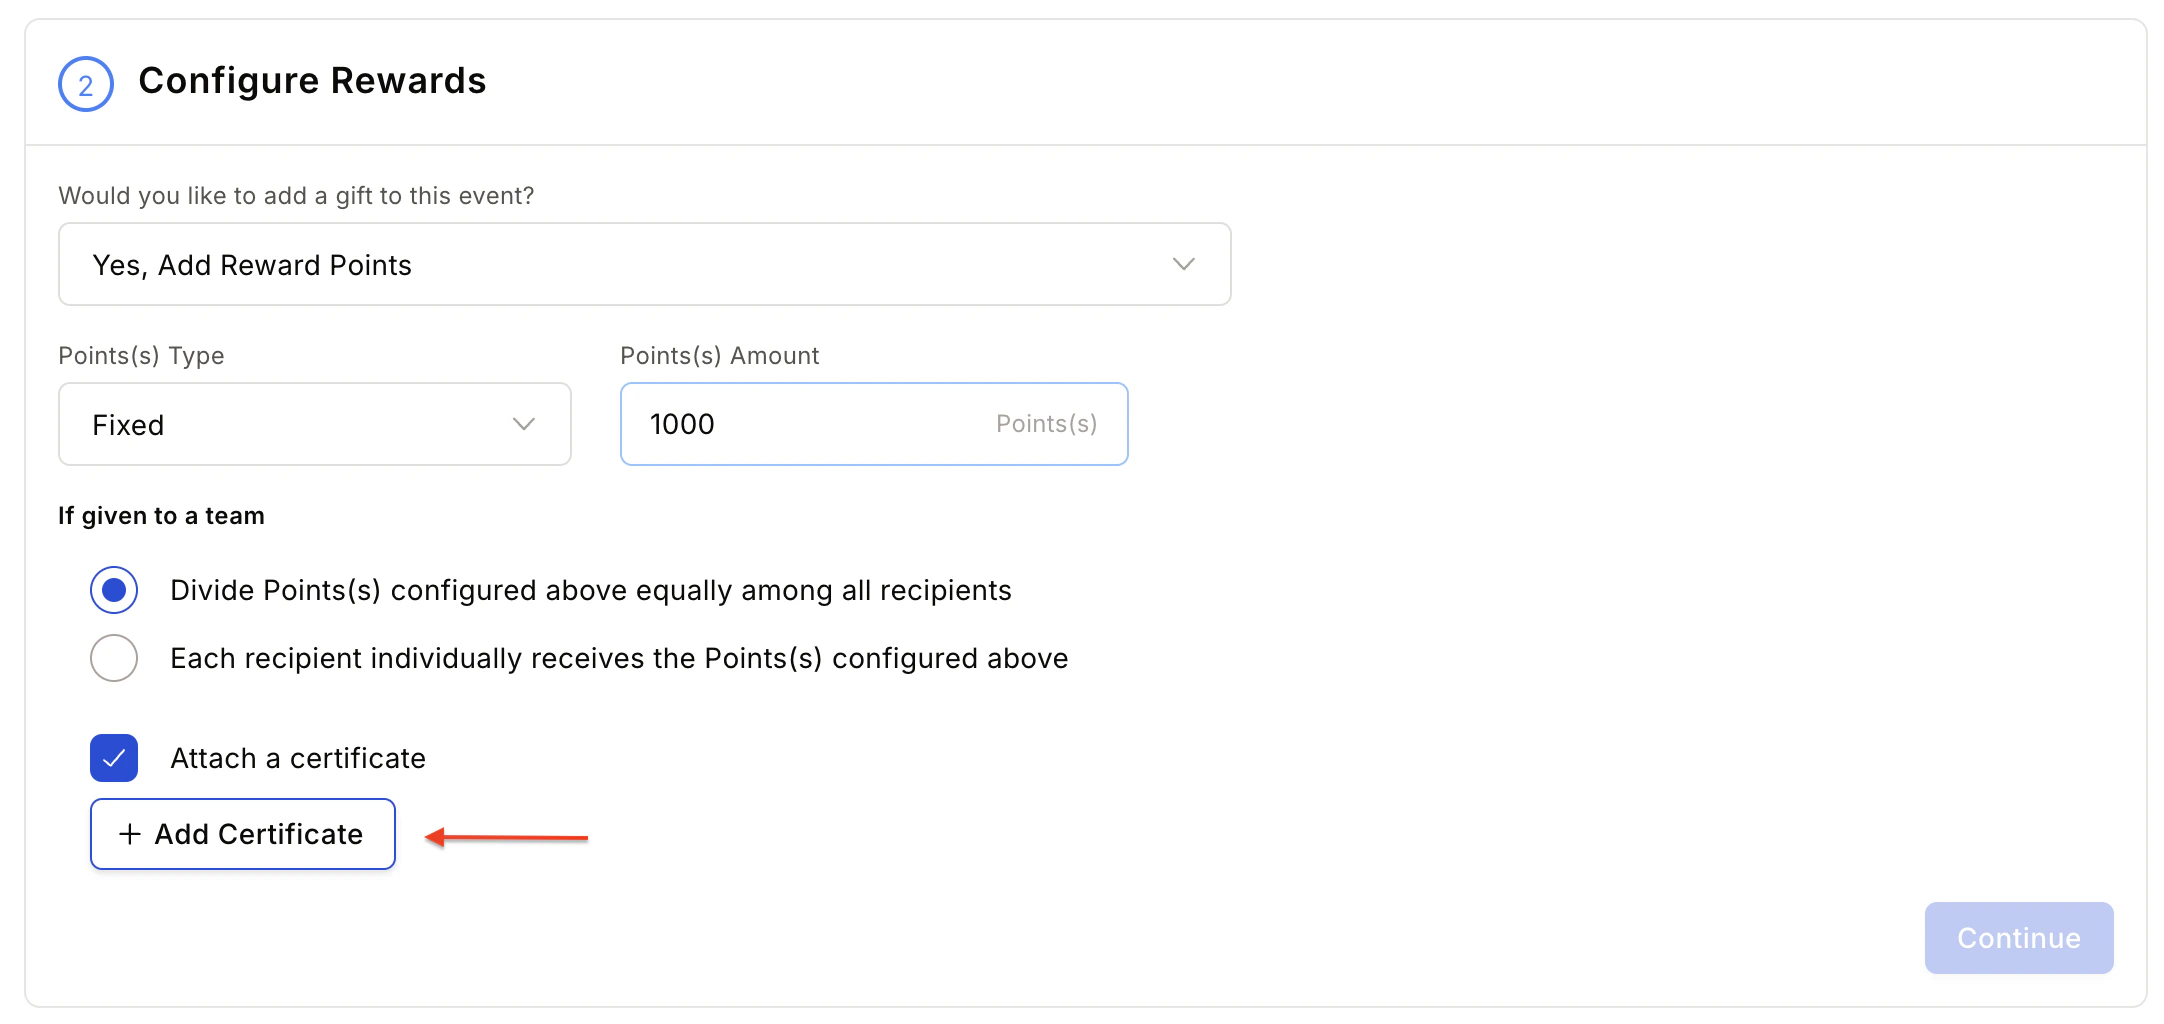
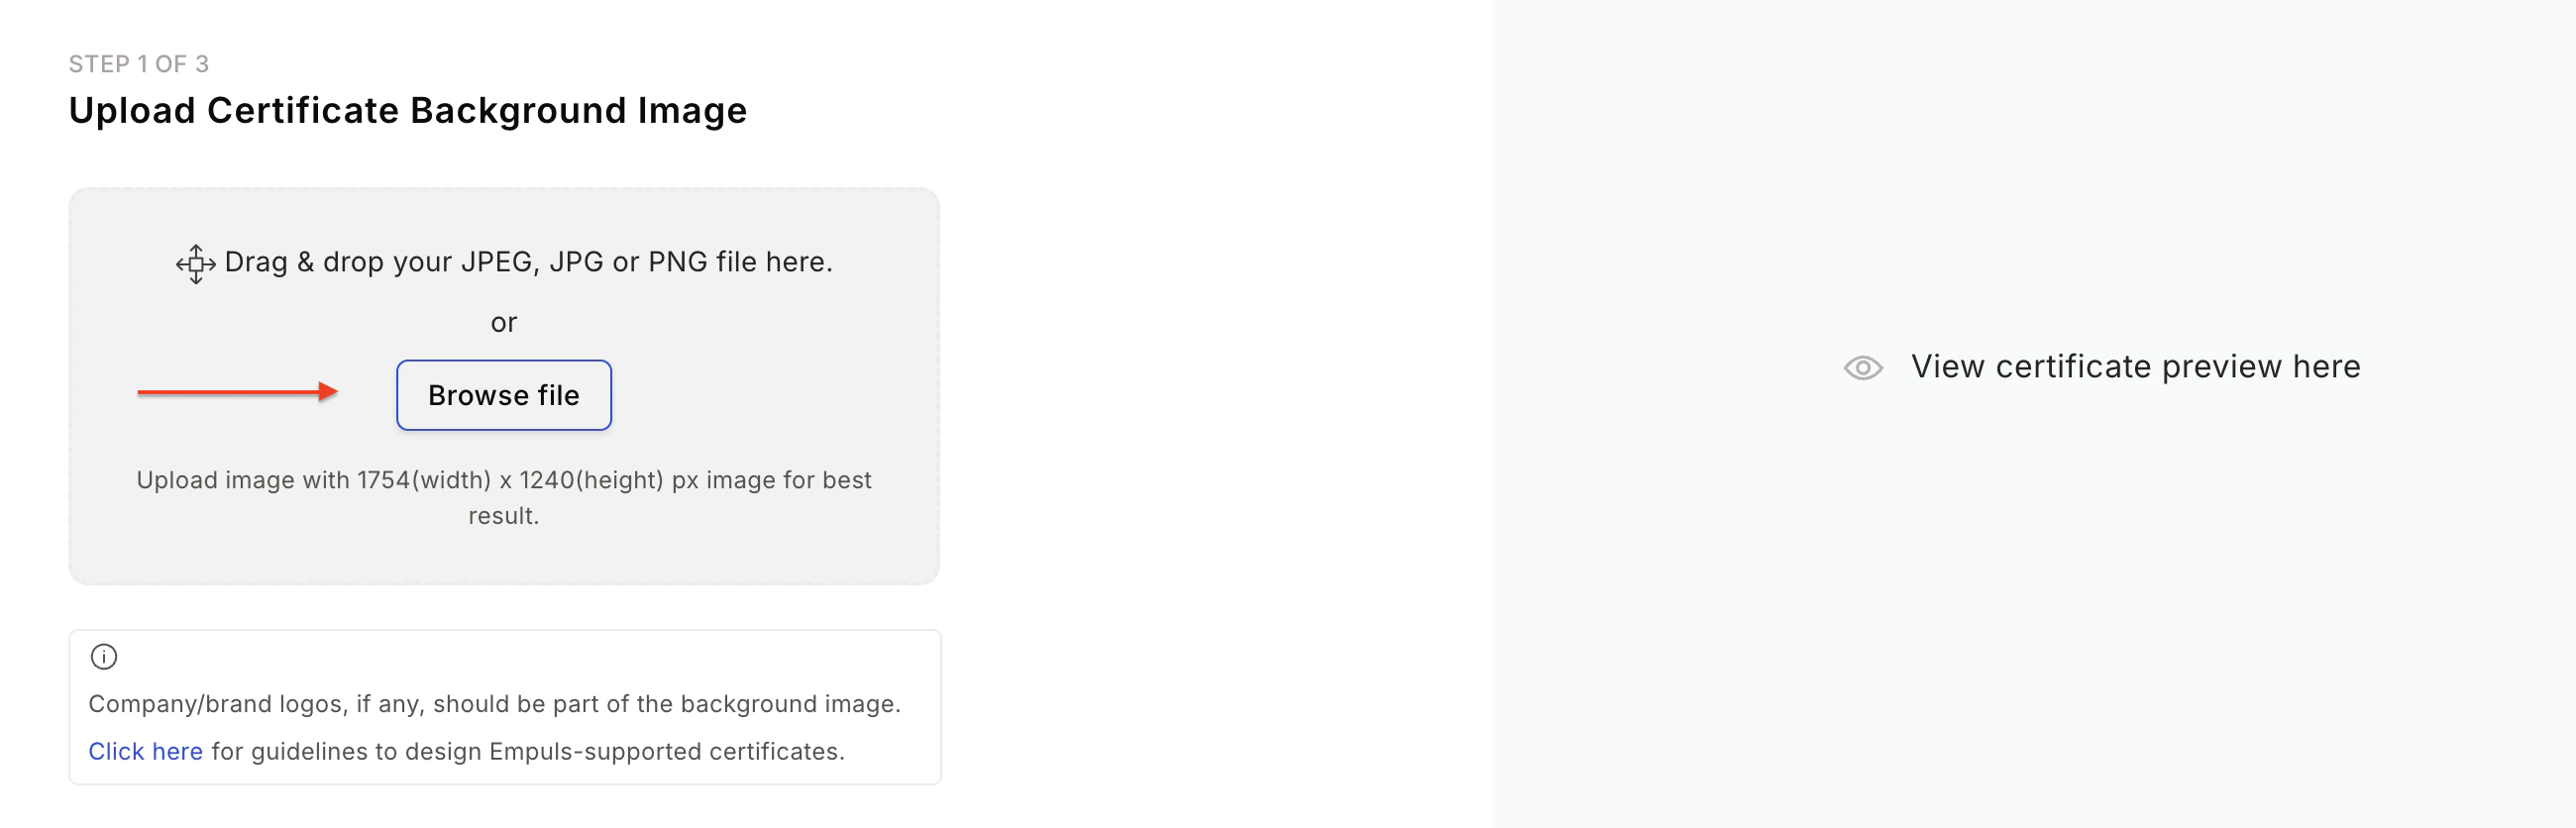
Step 2: Upload your certificate image
The Add Certificates option is available in two places: Awards and Work Anniversary Gifts.- Click Add Certificates to open the upload dialog.
- Upload your designed certificate image.
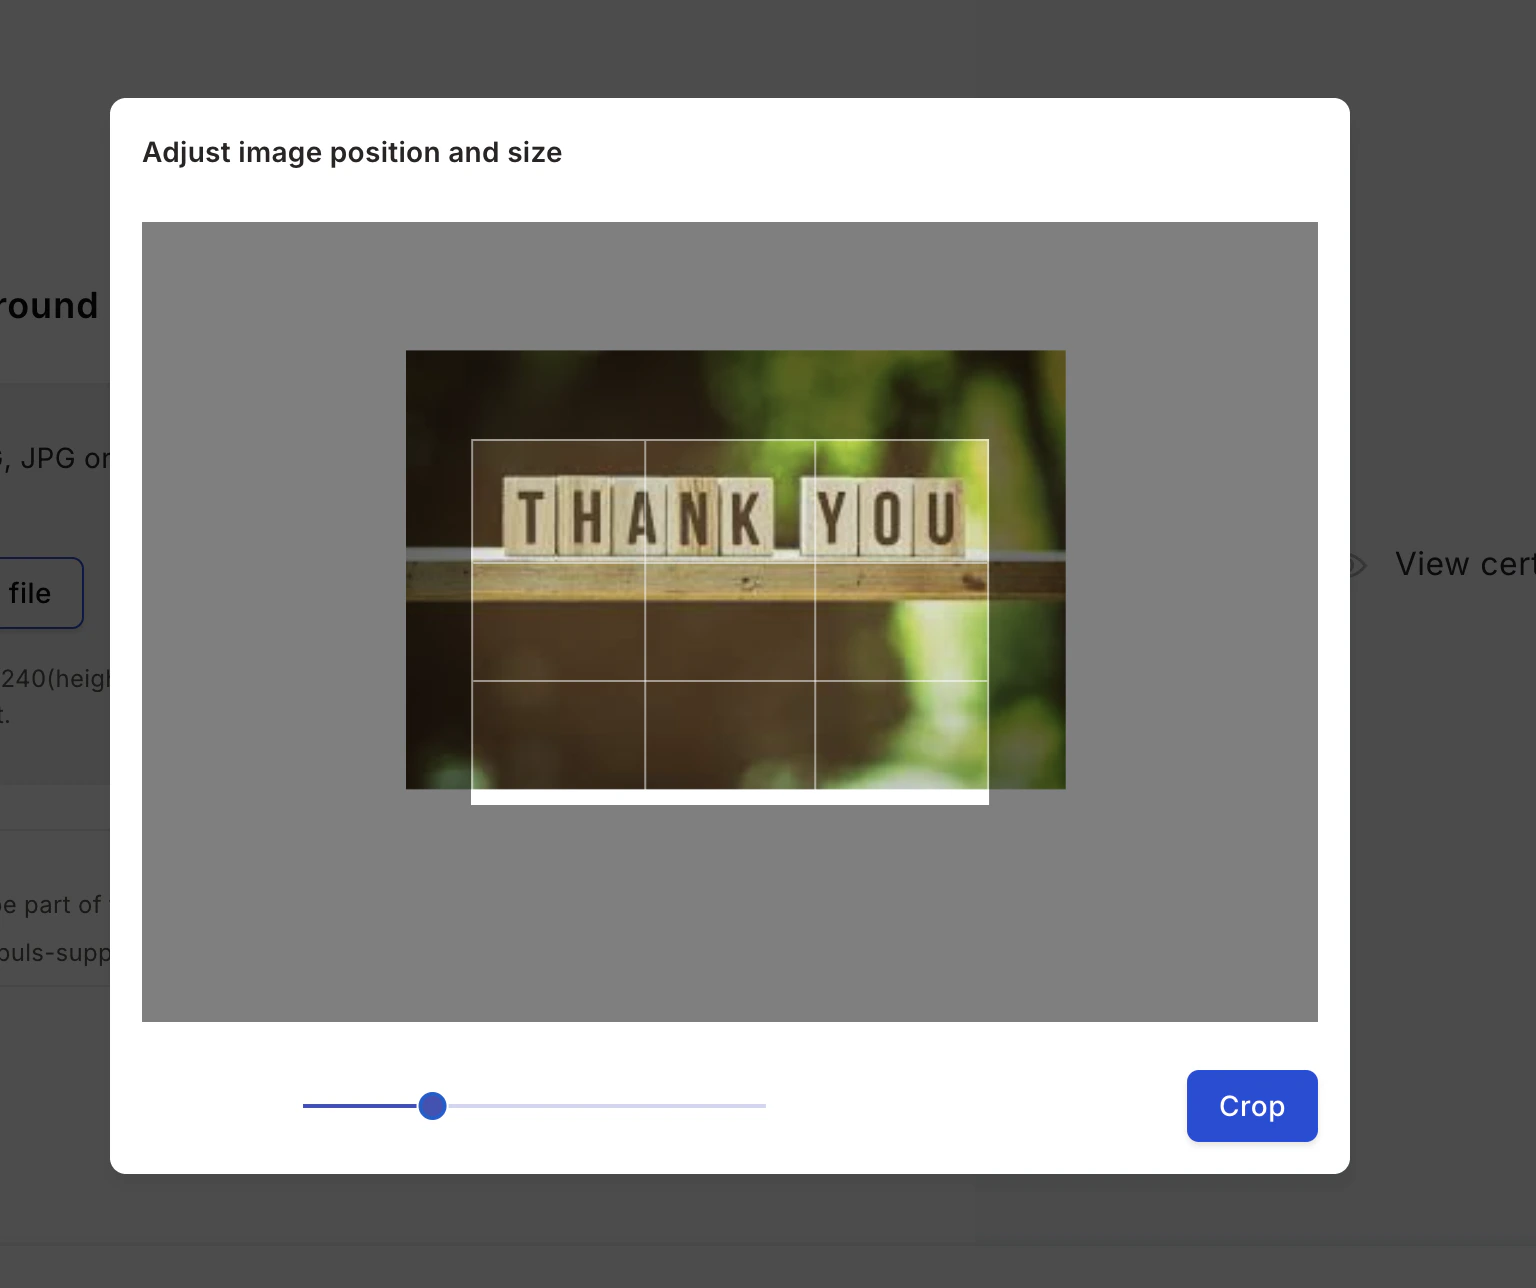
- Use the Crop Image option to adjust position and size. Image size and resolution are validated to ensure the generated certificate is of printable quality.
Step 3: Customise the layout
Select the layout and the text colour to use on your uploaded image.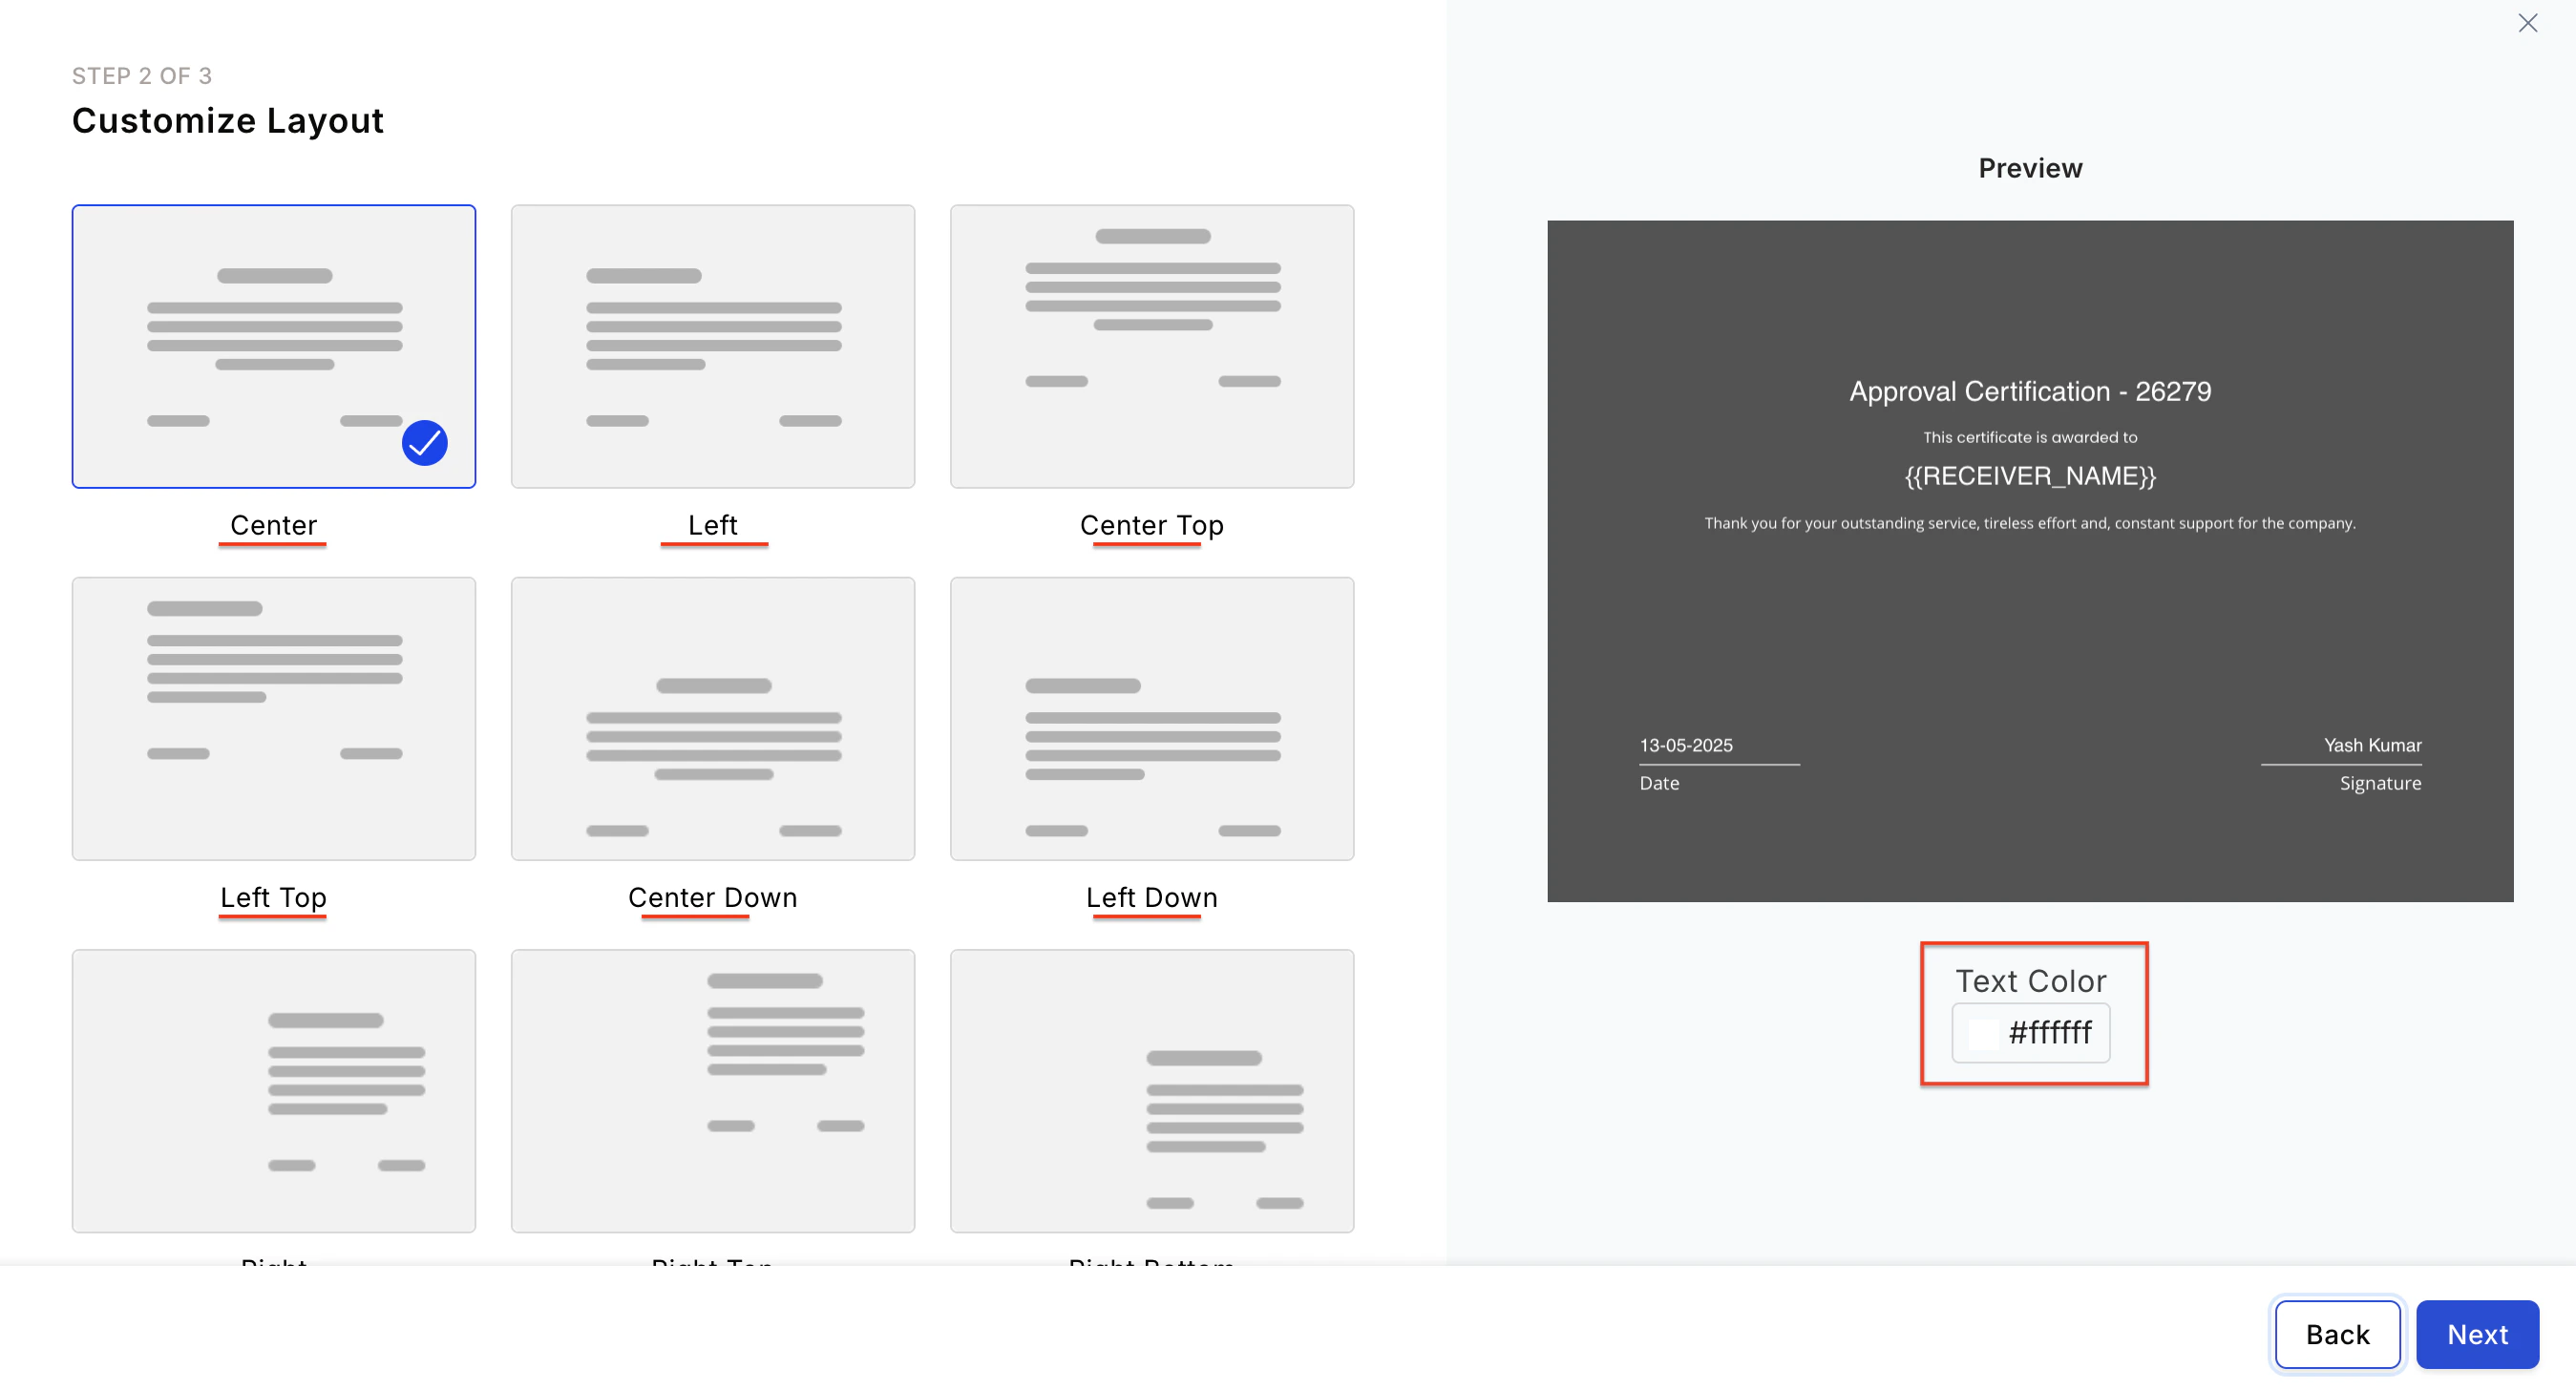
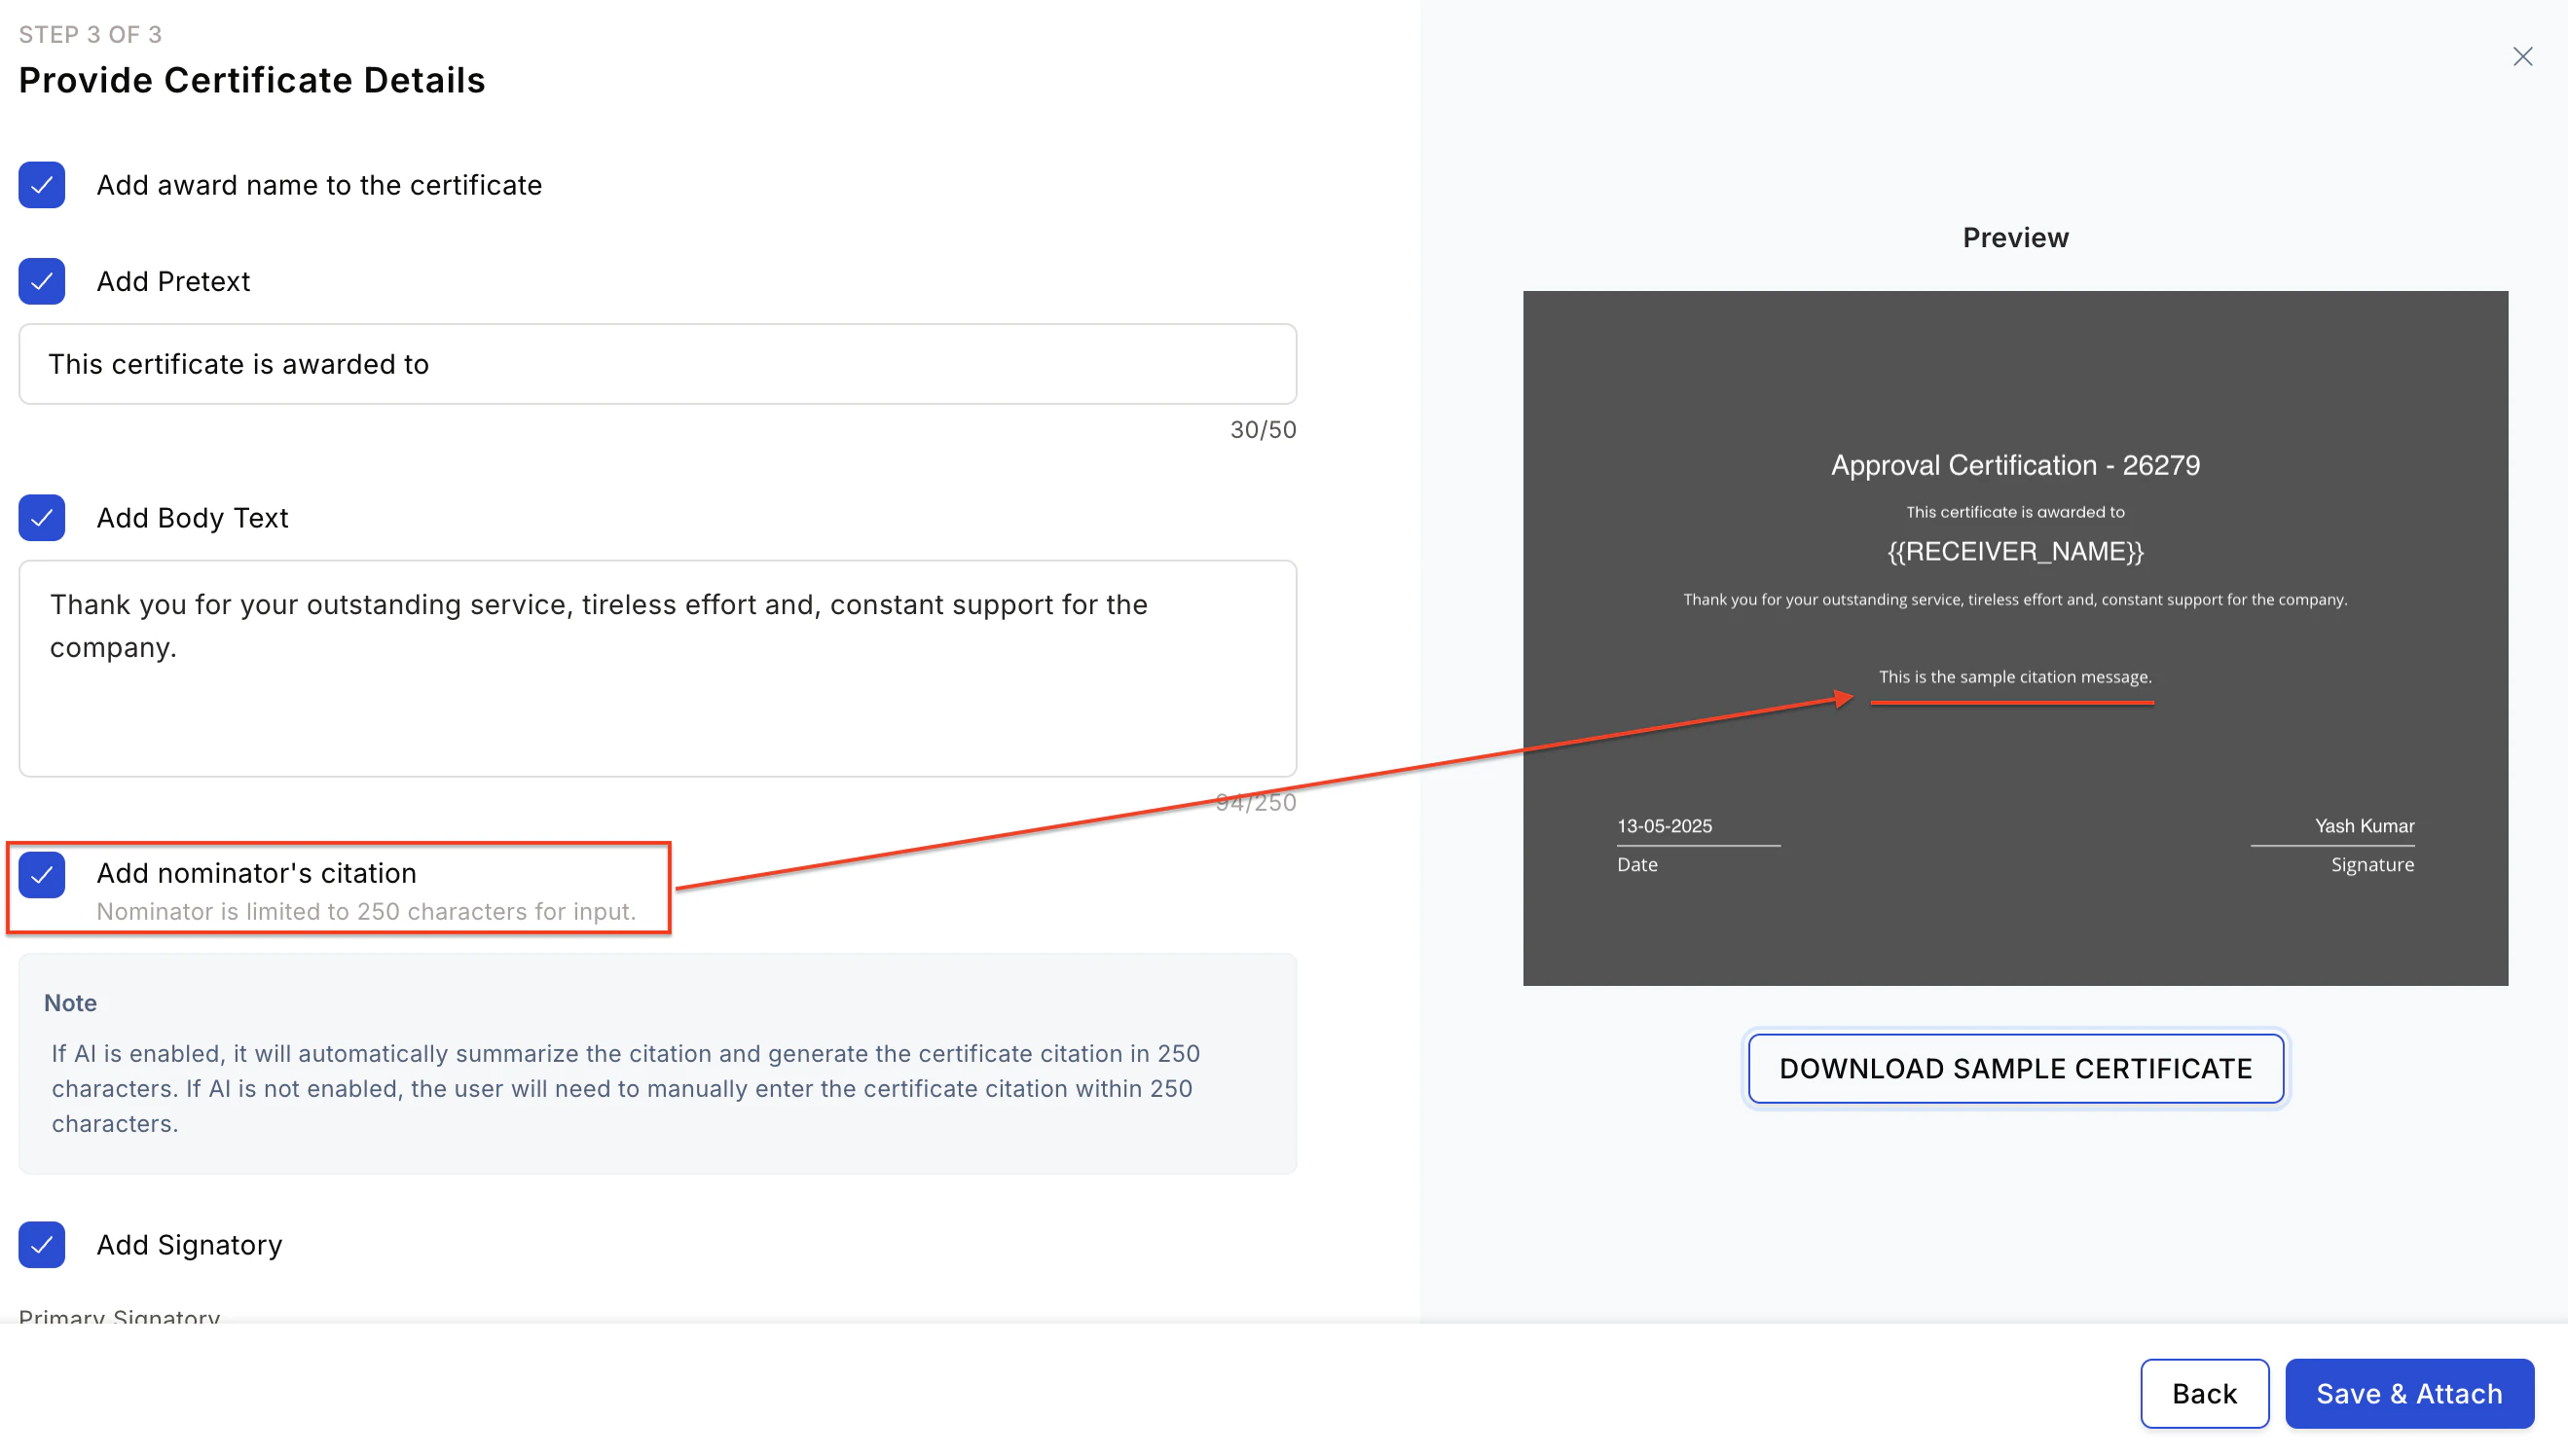
Step 4: Provide certificate details
Configure the content fields to appear on the certificate:- Award name — Add the award name to the certificate.
- Pretext — Add introductory text above the recipient’s name.
- Body text — Add the main body of the certificate.
- Nominator’s message — Include the nominator’s citation.
- Signatory — Select using the dropdown. You can also add the nominator’s name as the signatory.
- Default signatory — Used if the primary signatory does not exist in the system.
- Nomination Date — The certificate includes the date the nomination was submitted.
- Approved Date — The certificate includes the date the nomination was approved.
FAQs
Can the citation from awards be published on certificates?
Can the citation from awards be published on certificates?
Yes. The nominator citation can be added to the certificate only when the admin has enabled the Nominator citation option during certificate setup.
- Only 250 characters of content can be printed on the certificate.
- The nominator can update the certificate citation when submitting the nomination.
Can we add the nominator's name as a signature?
Can we add the nominator's name as a signature?
Yes. Select the Nominator name option in the Primary Signatory field during certificate setup.
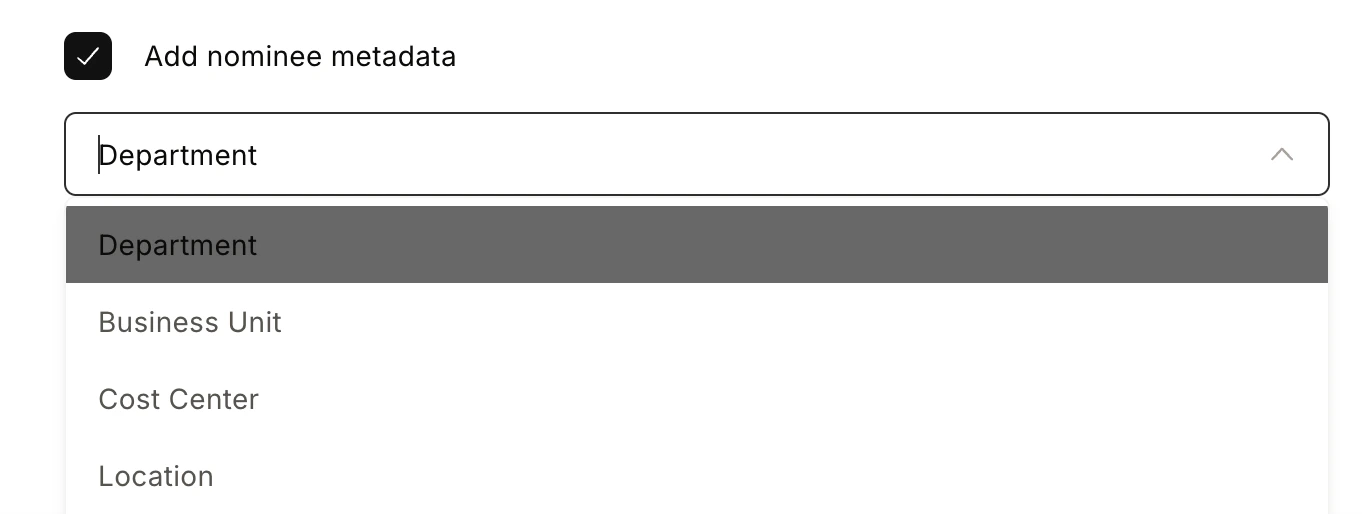
Can we show the nominee's details on the certificate, such as Department, Business Unit, Cost Centre, and Location?
Can we show the nominee's details on the certificate, such as Department, Business Unit, Cost Centre, and Location?
Yes. Enable the Add Nominee Metadata option during Step 4 of certificate setup and select the relevant fields from the dropdown.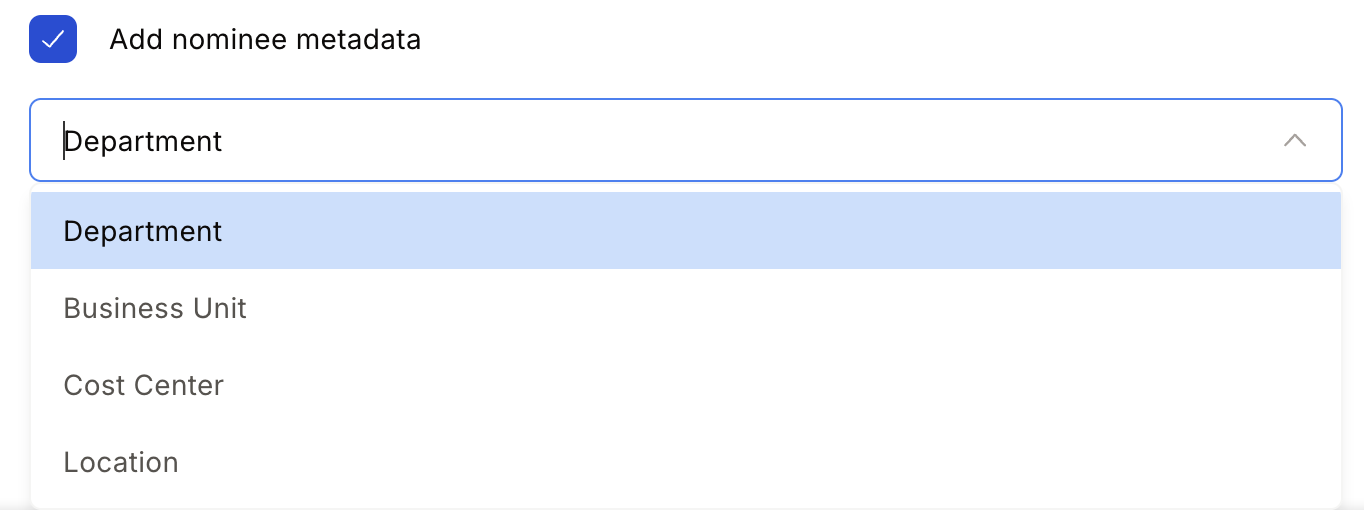
How do I get a fully customised certificate design?
How do I get a fully customised certificate design?
To get a custom certificate design for rewards, raise a request to cs@xoxoday.com.