> ## Documentation Index
> Fetch the complete documentation index at: https://help-empuls.xoxoday.com/llms.txt
> Use this file to discover all available pages before exploring further.
# Gusto
> Learn how the Gusto and Empuls integration works and helps automate employee engagement, recognition & rewards
## Before You Begin
Ensure you have admin access to both Gusto and Empuls. Obtain your Gusto API credentials from the admin settings.
## How It Works
The Empuls and Gusto integration enables a holistic employee engagement approach for your organisation. It automates user data management by synchronizing employee information from your payroll platform to Empuls.
**With this integration, you can:**
* Save time and keep data fresh: Enable an automatic data sync to Empuls to reflect your changes to employee information in Gusto instantly.
* Never miss a special event: Celebrate employee birthdays and work anniversaries with automated greetings and gifts by importing these dates from Gusto.
Once this integration is enabled, data will sync once every 24 hours between Empuls and your Gusto account.
## Data Fields
The data fields can be fetched from your Gusto account and imported to Empuls.
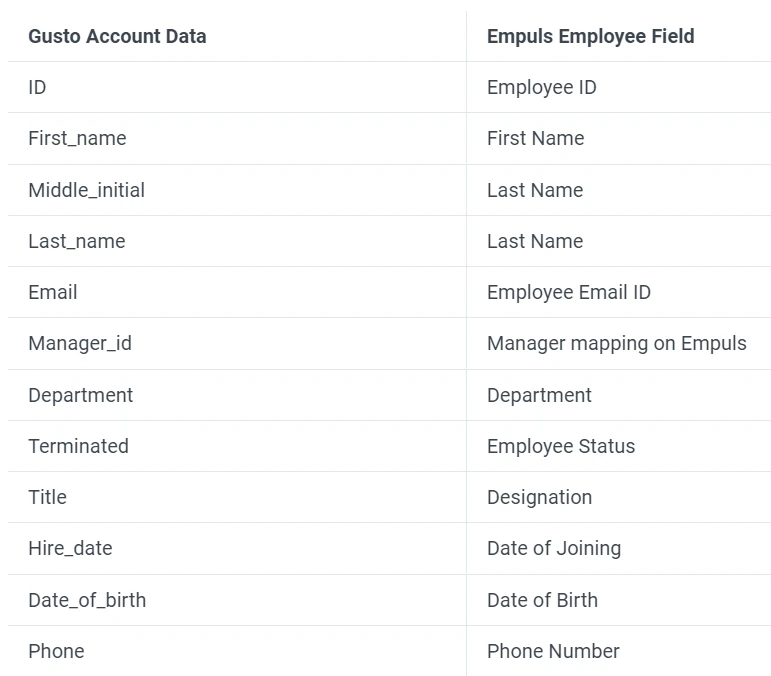 Data can be mapped for multiple fields like
1. First name
2. Last name
3. Official email
4. Employee code/ID
5. Grade
6. Department
7. Designation
8. Date of birth
9. Date of Joining
10. Mobile number
11. Business Unit
12. Cost center
13. Location
14. Contact/Mobile number, and many more
## **How to set up this integration?**
Log in to your Empuls account.
Go to **Admin Dashboard** by clicking on "**Reports and Admin**".
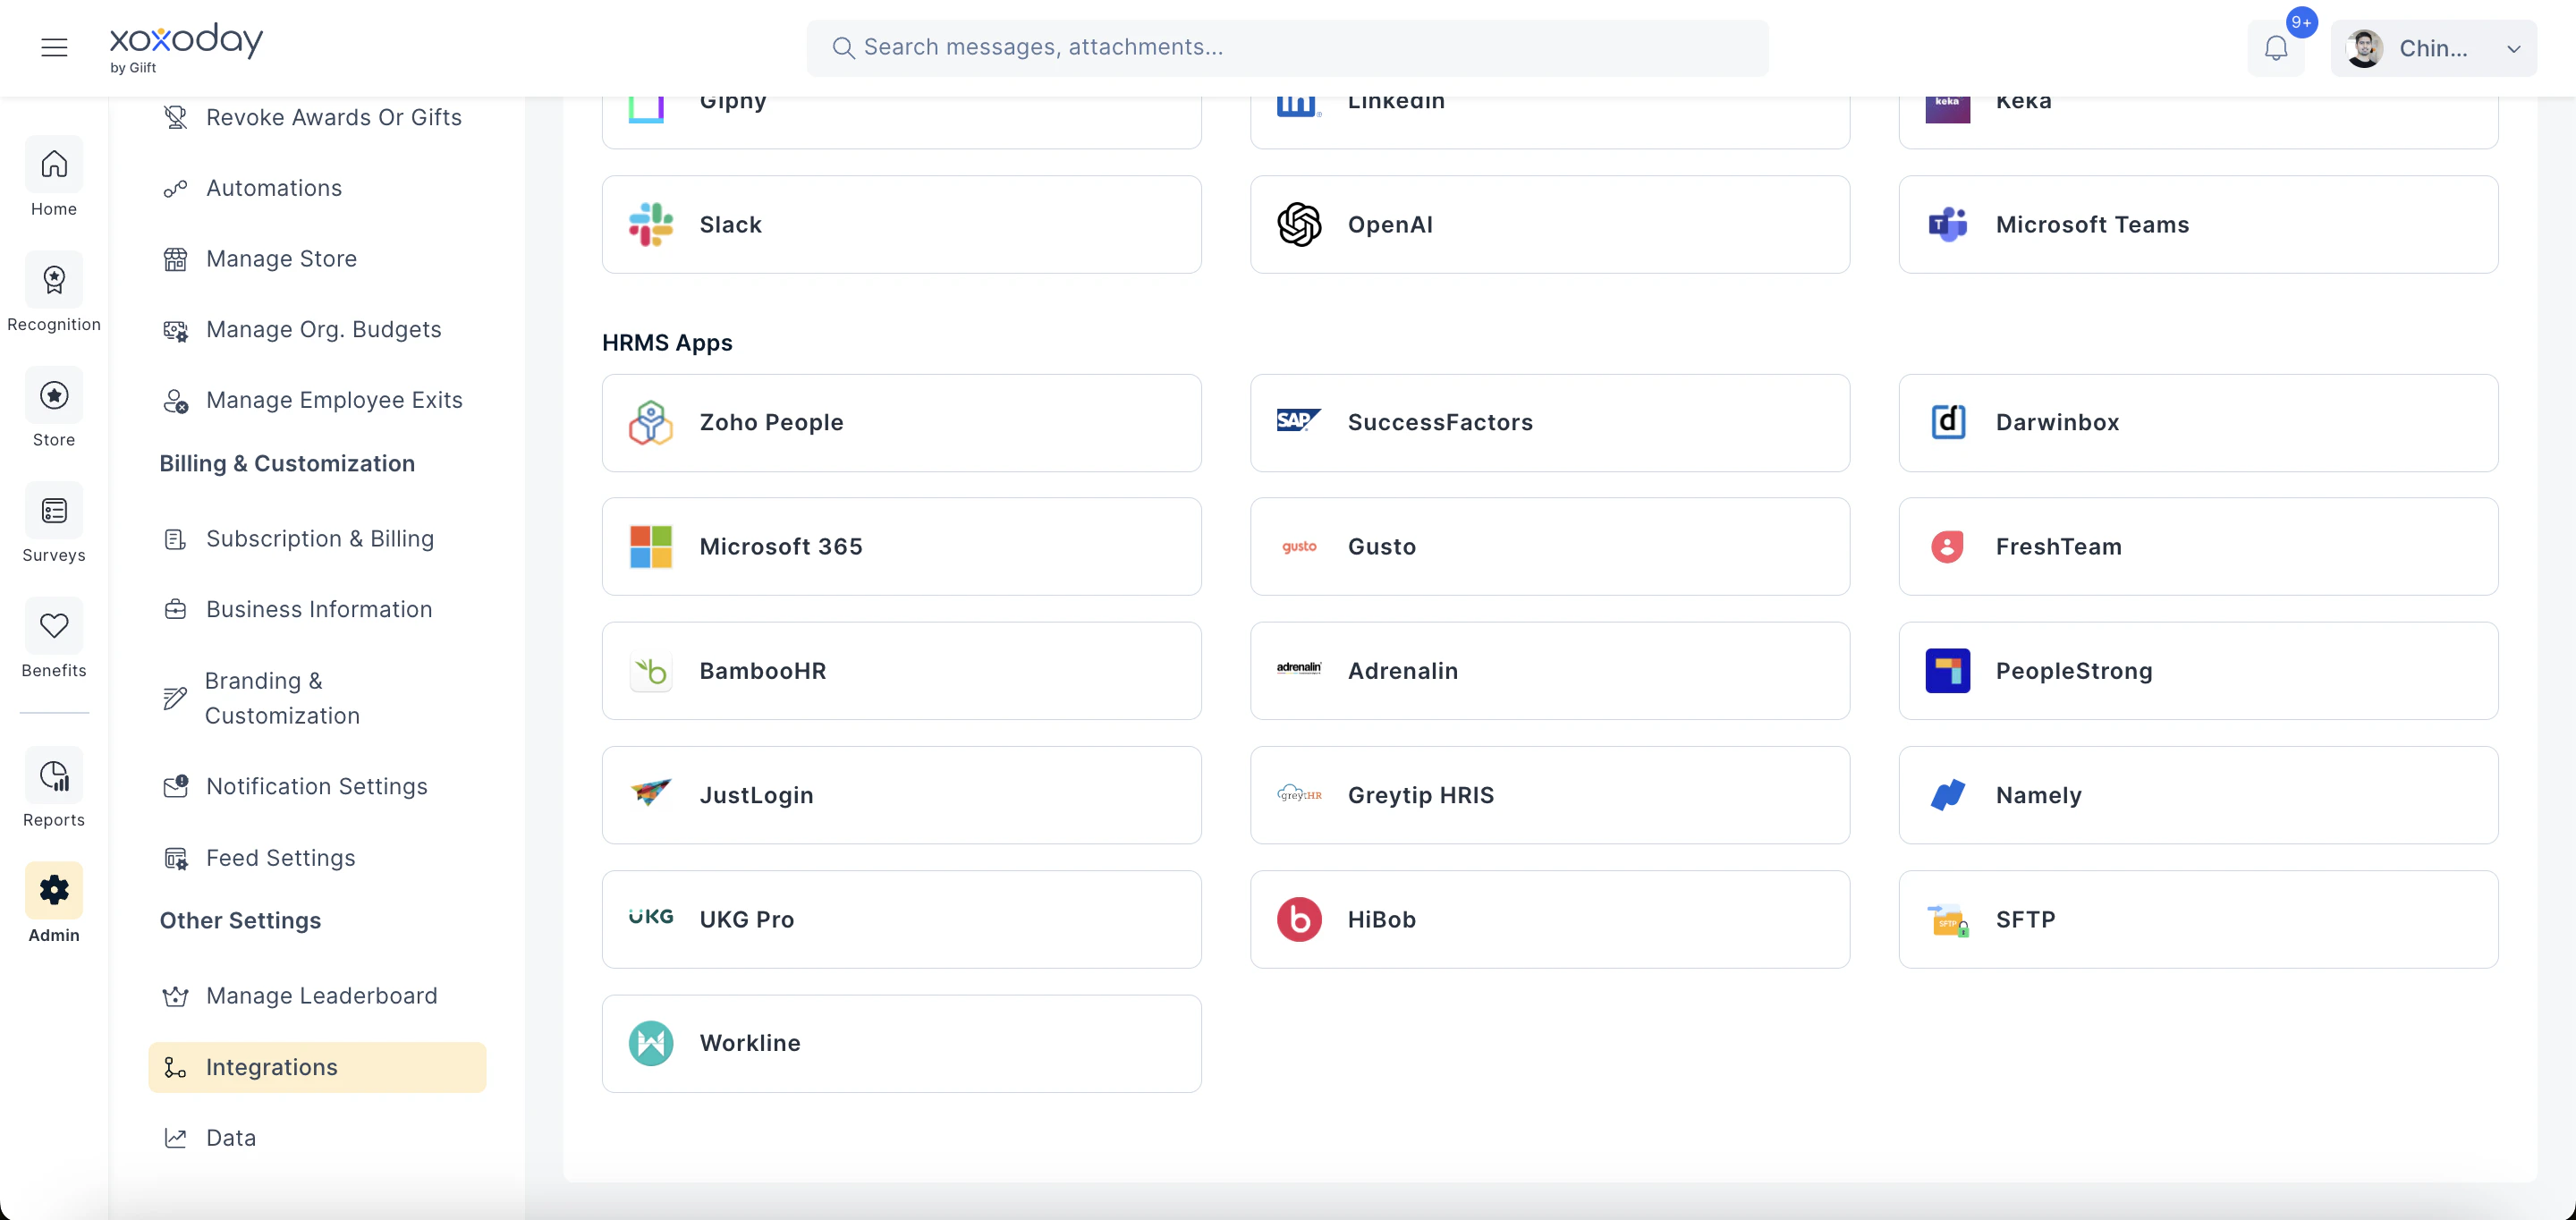
Navigate to "**Integrations.**"
Navigate to the HRMS Applications section and click on the Gusto app.
Data can be mapped for multiple fields like
1. First name
2. Last name
3. Official email
4. Employee code/ID
5. Grade
6. Department
7. Designation
8. Date of birth
9. Date of Joining
10. Mobile number
11. Business Unit
12. Cost center
13. Location
14. Contact/Mobile number, and many more
## **How to set up this integration?**
Log in to your Empuls account.
Go to **Admin Dashboard** by clicking on "**Reports and Admin**".
Navigate to "**Integrations.**"
Navigate to the HRMS Applications section and click on the Gusto app.
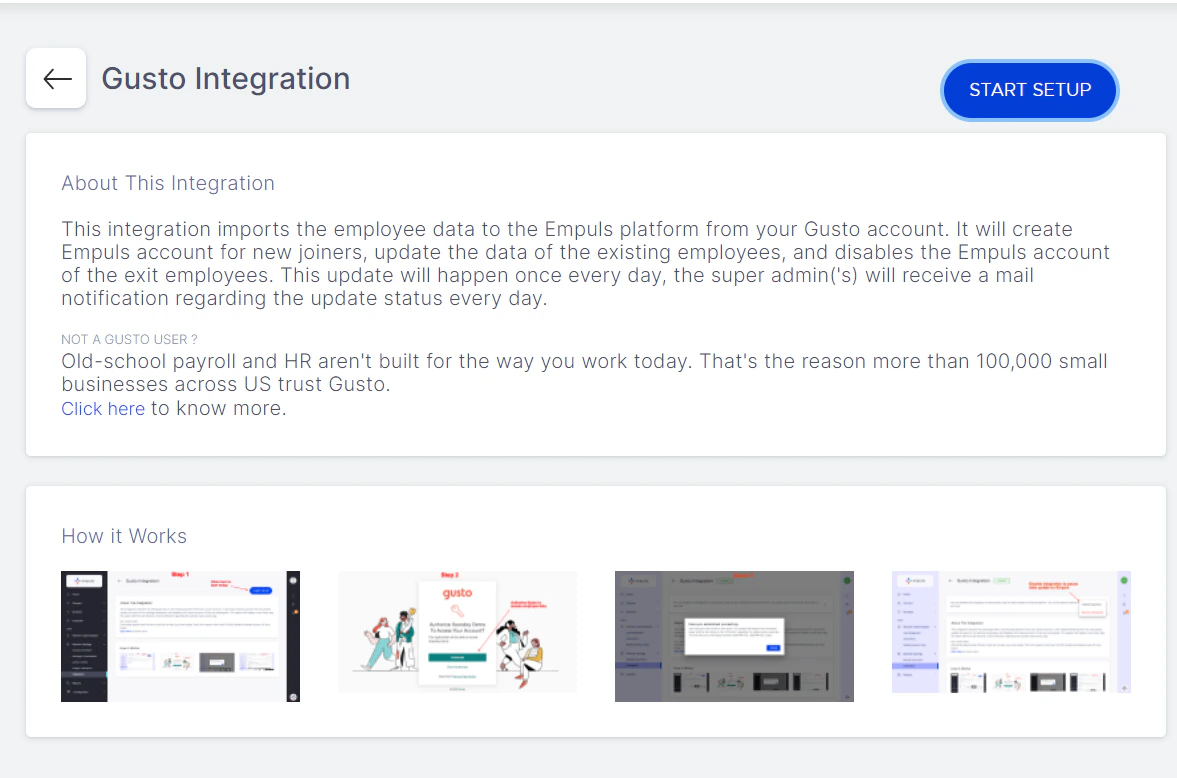
 Click on **Start Setup** from the top right corner of the page to start the integration.
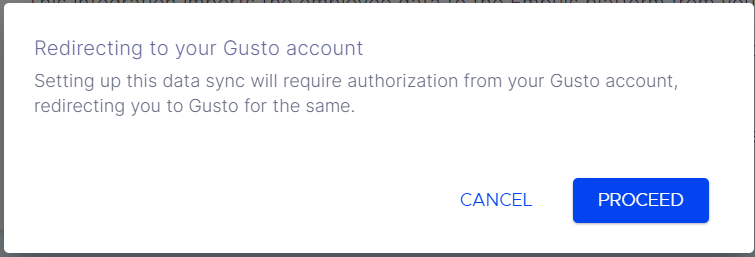
 Click on **PROCEED** in the pop-up box to redirect you to your Gusto account to complete the setup.
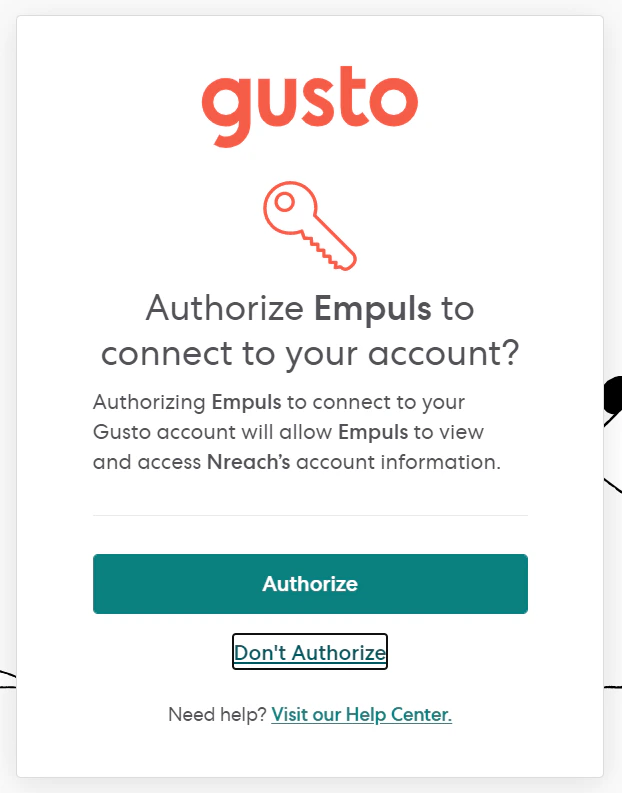
 Click on **Authorise** to authorise Empuls to connect with your Gusto account.
Your Gusto and Empuls integration is now successfully enabled.
Click on **Authorise** to authorise Empuls to connect with your Gusto account.
Your Gusto and Empuls integration is now successfully enabled.
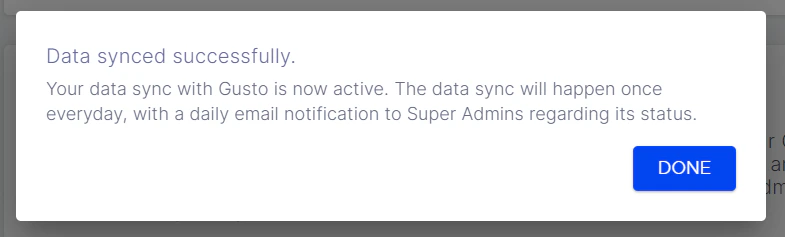
 You will also see a message confirming that the data sync between Gusto and Empuls is now active. Click on DONE.
 ## **How to disable or remove this integration?**
Log in to your Empuls account.
Go to **Admin Dashboard** by clicking on "**Reports and Settings**".
Navigate to "**Integrations.**"
Navigate to the A**ctive Integrations** and click on the **Gusto app.**
Click on the three dots in the first message box to view the options to disable or remove the integration.
## **How to disable or remove this integration?**
Log in to your Empuls account.
Go to **Admin Dashboard** by clicking on "**Reports and Settings**".
Navigate to "**Integrations.**"
Navigate to the A**ctive Integrations** and click on the **Gusto app.**
Click on the three dots in the first message box to view the options to disable or remove the integration.
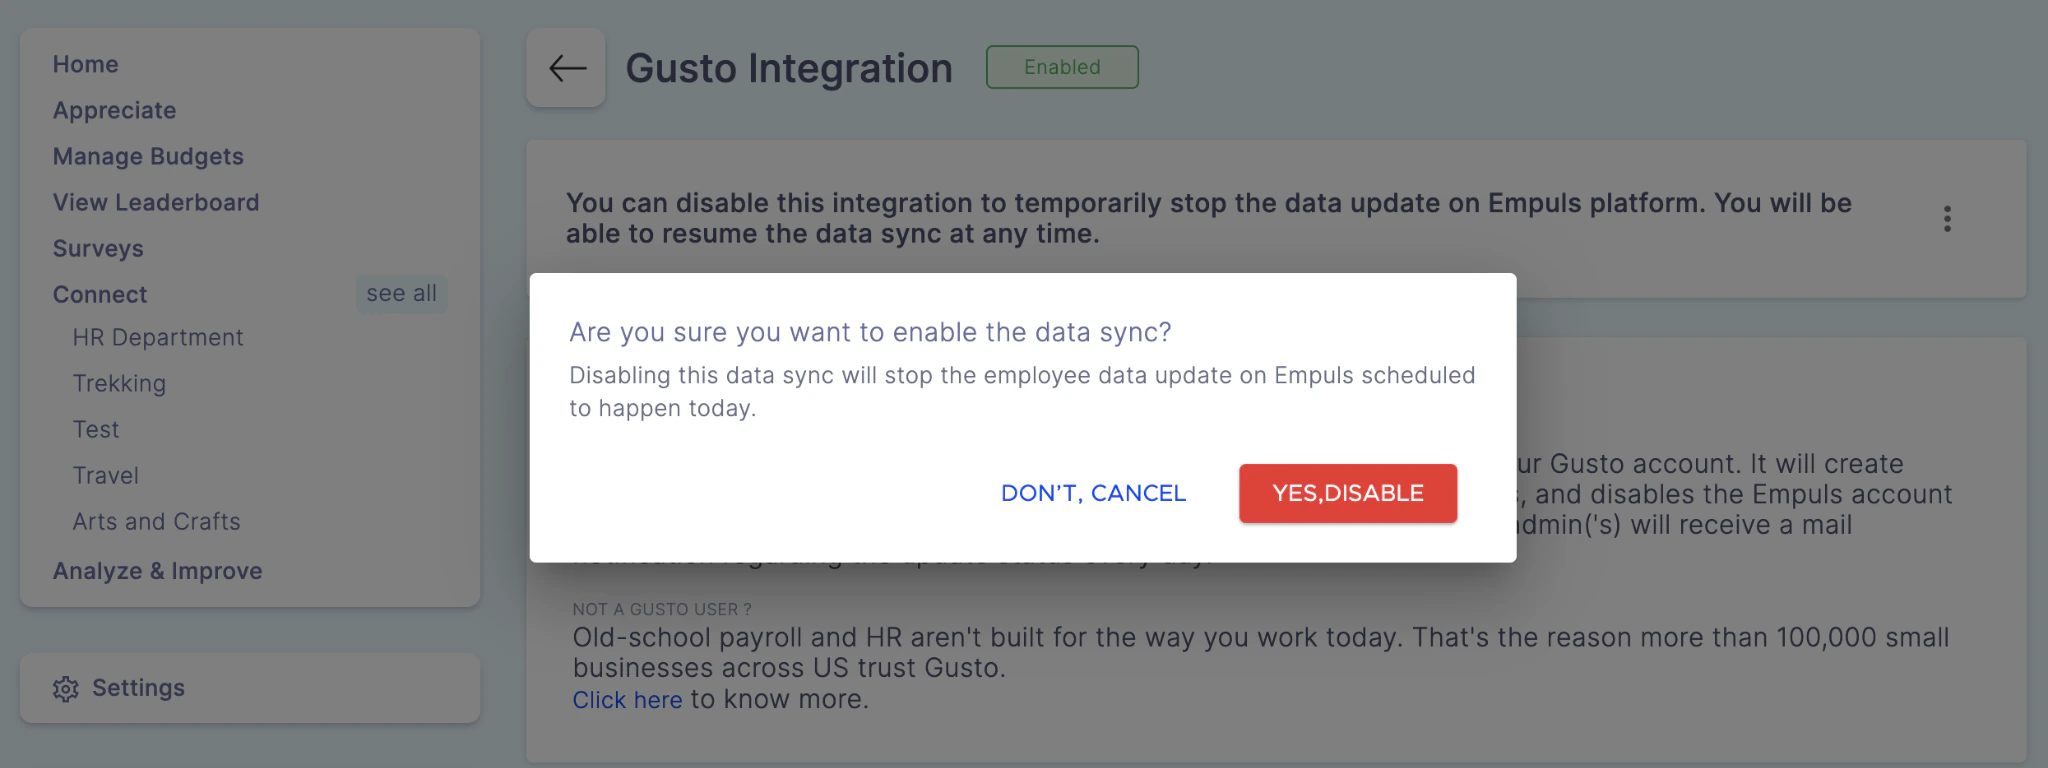
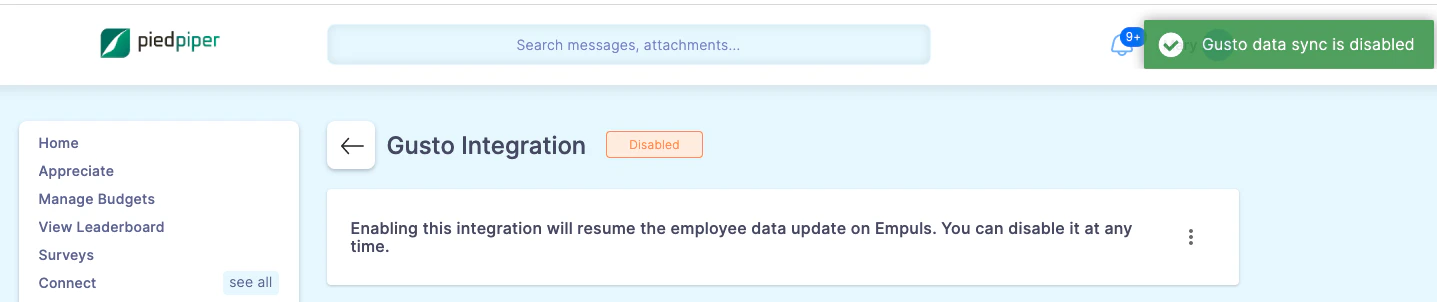
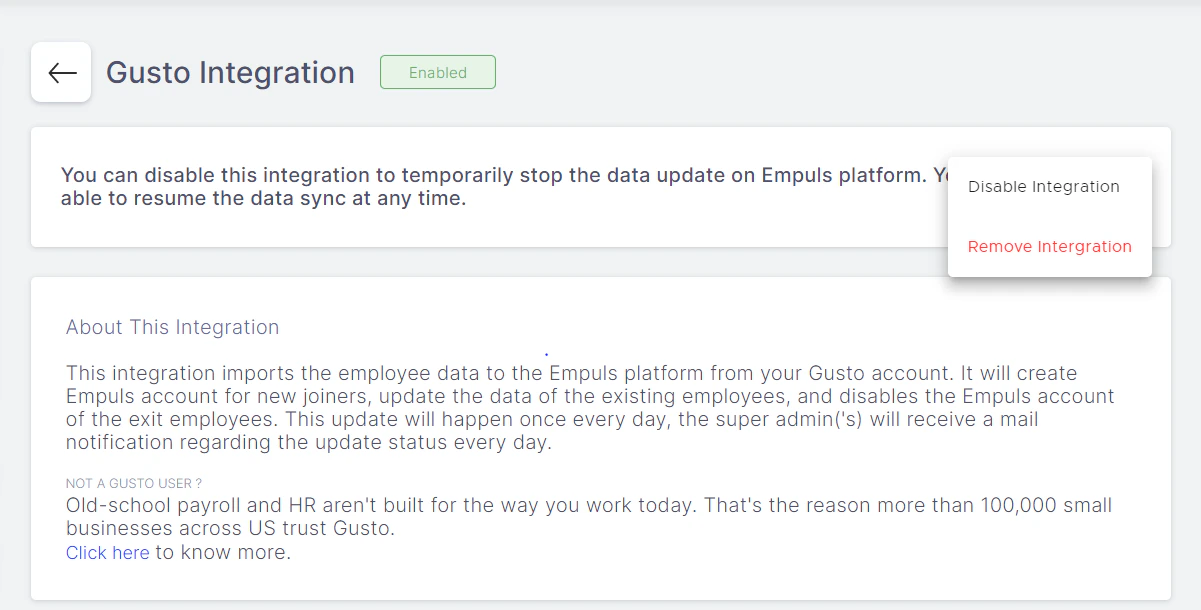 **Option 1:** Choose Disable integration to stop the data update on the Empuls platform temporarily. You can resume the data sync at any time. Click YES, DISABLE in the pop-up box to confirm.
 You will get a message in the top right corner confirming that the data sync has been disabled.
 **Option 2:** Choose Remove integration to remove the integration and stop the data sync with Empuls. If you choose this option, you must reinstall the integration to enable the data sync between Gusto and Empuls. Click YES, REMOVE in the pop-up box to confirm.
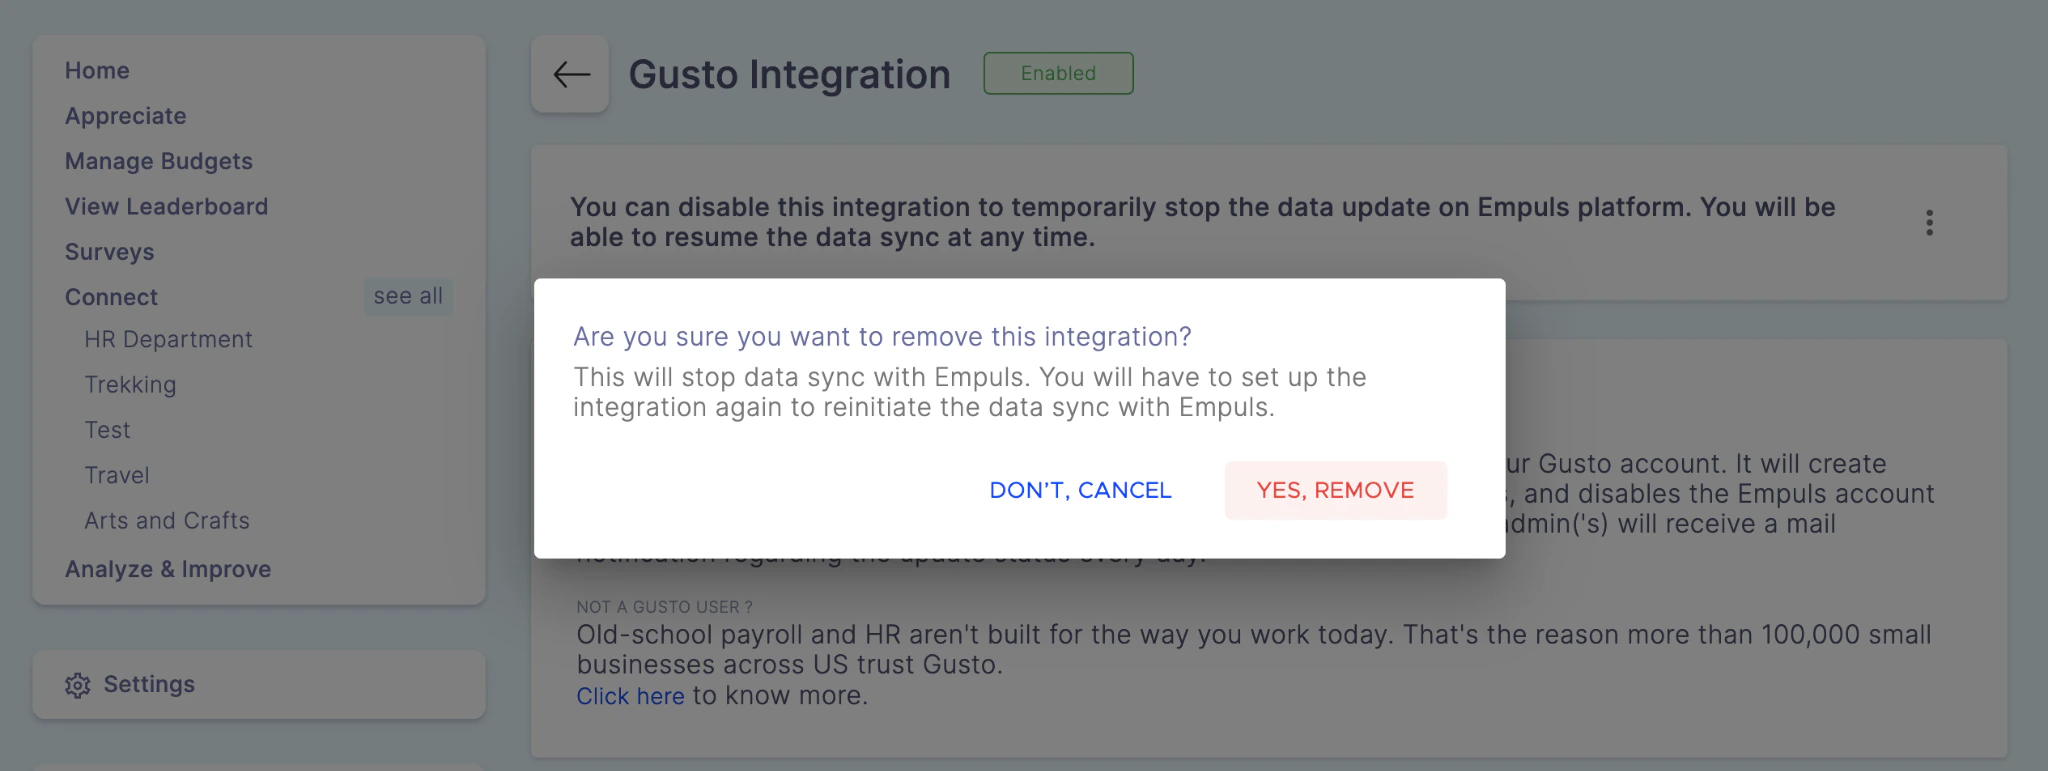 You will get a message in the top right corner confirming the removal of the integration.
Questions? Contact us at [cs@xoxoday.com](mailto:cs@xoxoday.com). We are more than happy to help you!
You will get a message in the top right corner confirming the removal of the integration.
Questions? Contact us at [cs@xoxoday.com](mailto:cs@xoxoday.com). We are more than happy to help you!